Hey guys 🤚, Glad to have you here. In this post, we are going to cover how to build and deploy a Fullstack web application using Amazon Web Services.
We are going to build an app called FoxNews, step by step. The final result will look like this:

This post will be the first in a long series (4 Parts) covering the use of Amazon Web Services
- Part 1 : We will setup our Dev environment and deploy the v1 of our app on AWS Amplify using Amplify Framework.
- Part2: Will be focused on building the main logic of our app using Next.js and Tailwind CSS.
- Part3 : We will be able to fetch and displays news from remote API and setup Redux with Redux Toolkit to persist news.
- Part 4 (Upcoming): Will be focused on creating a complete authentication system with login, signing, password recovery using Amazon Cognito.
Here bellow is the list of services we will use:
- Amazon Amplify Framework A comprehensive library for building sophisticated cloud-powered apps on a flexible, scalable, and reliable serverless backend on AWS.
- AWS CloudFront’s CDN to distribute around the world
- AWS S3 to upload images
- AWS IAM(Identity and Access Management which provides fine-grained access control across all of AWS
- AWS Lambda to create a serverless function that will resize images befre storing them on S3
- AWS Route 53 for domain name
- AWS Certificate Manager that will provide us an SSL certificate for the domain name
- Amazon Cognito for registration, authentication, and account recovery
- Amazon DynamoDB which is is a fully managed, serverless, key-value NoSQL database designed to run high-performance applications at any scale
- AWS AppSync that will help us create and manage a GraphQL backend. In our case, we will should be able to read, create, update, delete news.
- Amazon S3 bucket to store your app's static assets
- Lambda@Edge function to SSR pages
- Next.js with Typescript as the frontend framework
- Tailwind CSS as the css framework
For this First Part, we will setup our Dev environment and deploy the v1 of our app on AWS. So let's start by setting everything we will need up !
1. Setup Amplify CLI
The Amplify Command Line Interface (CLI) is a unified toolchain to create AWS cloud services for your app. Let's go ahead and install the Amplify CLI.
Before we start coding our application, we need to setup amazon amplify on our local machine. Let's go step by step.
First go here and create an AWS account if you don't have one. you will need it to create and manage apps and services on AWS
Follow thees instructions to set it up on your local machine
# NPM
$ npm install -g @aws-amplify/cli

# cURL (Mac & Linux)
curl -sL https://aws-amplify.github.io/amplify-cli/install | bash && $SHELL

# cURL (Windows)
curl -sL https://aws-amplify.github.io/amplify-cli/install-win -o install.cmd && install.cmd
Once completed, run amplify configure
This will open amplify console and try to connect to https://console.aws.amazon.com/ . Once connected, it will ask you to hit Enter to continue to the second step.
- Specify the AWS Region. (Use arrow keys to select a region)
- Specify the username for the new IAM. We will cover IAM in another blog post. But basically, IAM stand for Identity Access Management and according to AWS doc, its a service that secure access to your ressources. Follow the steps as illustrated in the following gif from AWS doc.
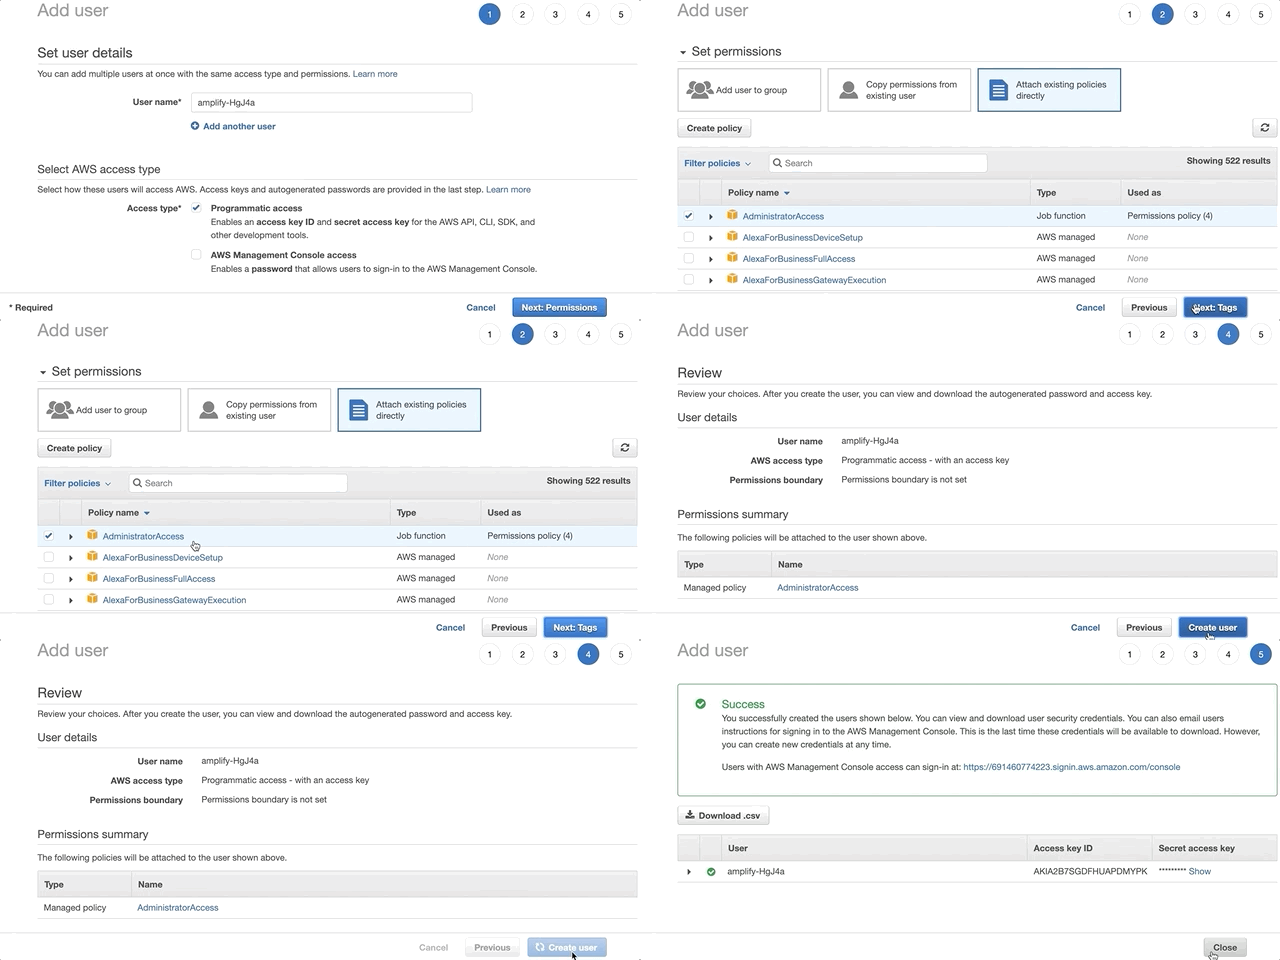
As recommended in the Amplify doc, Create a user with AdministratorAccess-Amplify to your account to provision AWS resources for you like AppSync, Cognito etc
Once the user is created, Amplify CLI will ask you to provide the accessKeyId and the secretAccessKey to connect Amplify CLI with your newly created IAM user.
Enter the access key of the newly created user: (You have it on the last step of IAM creation step wizard)
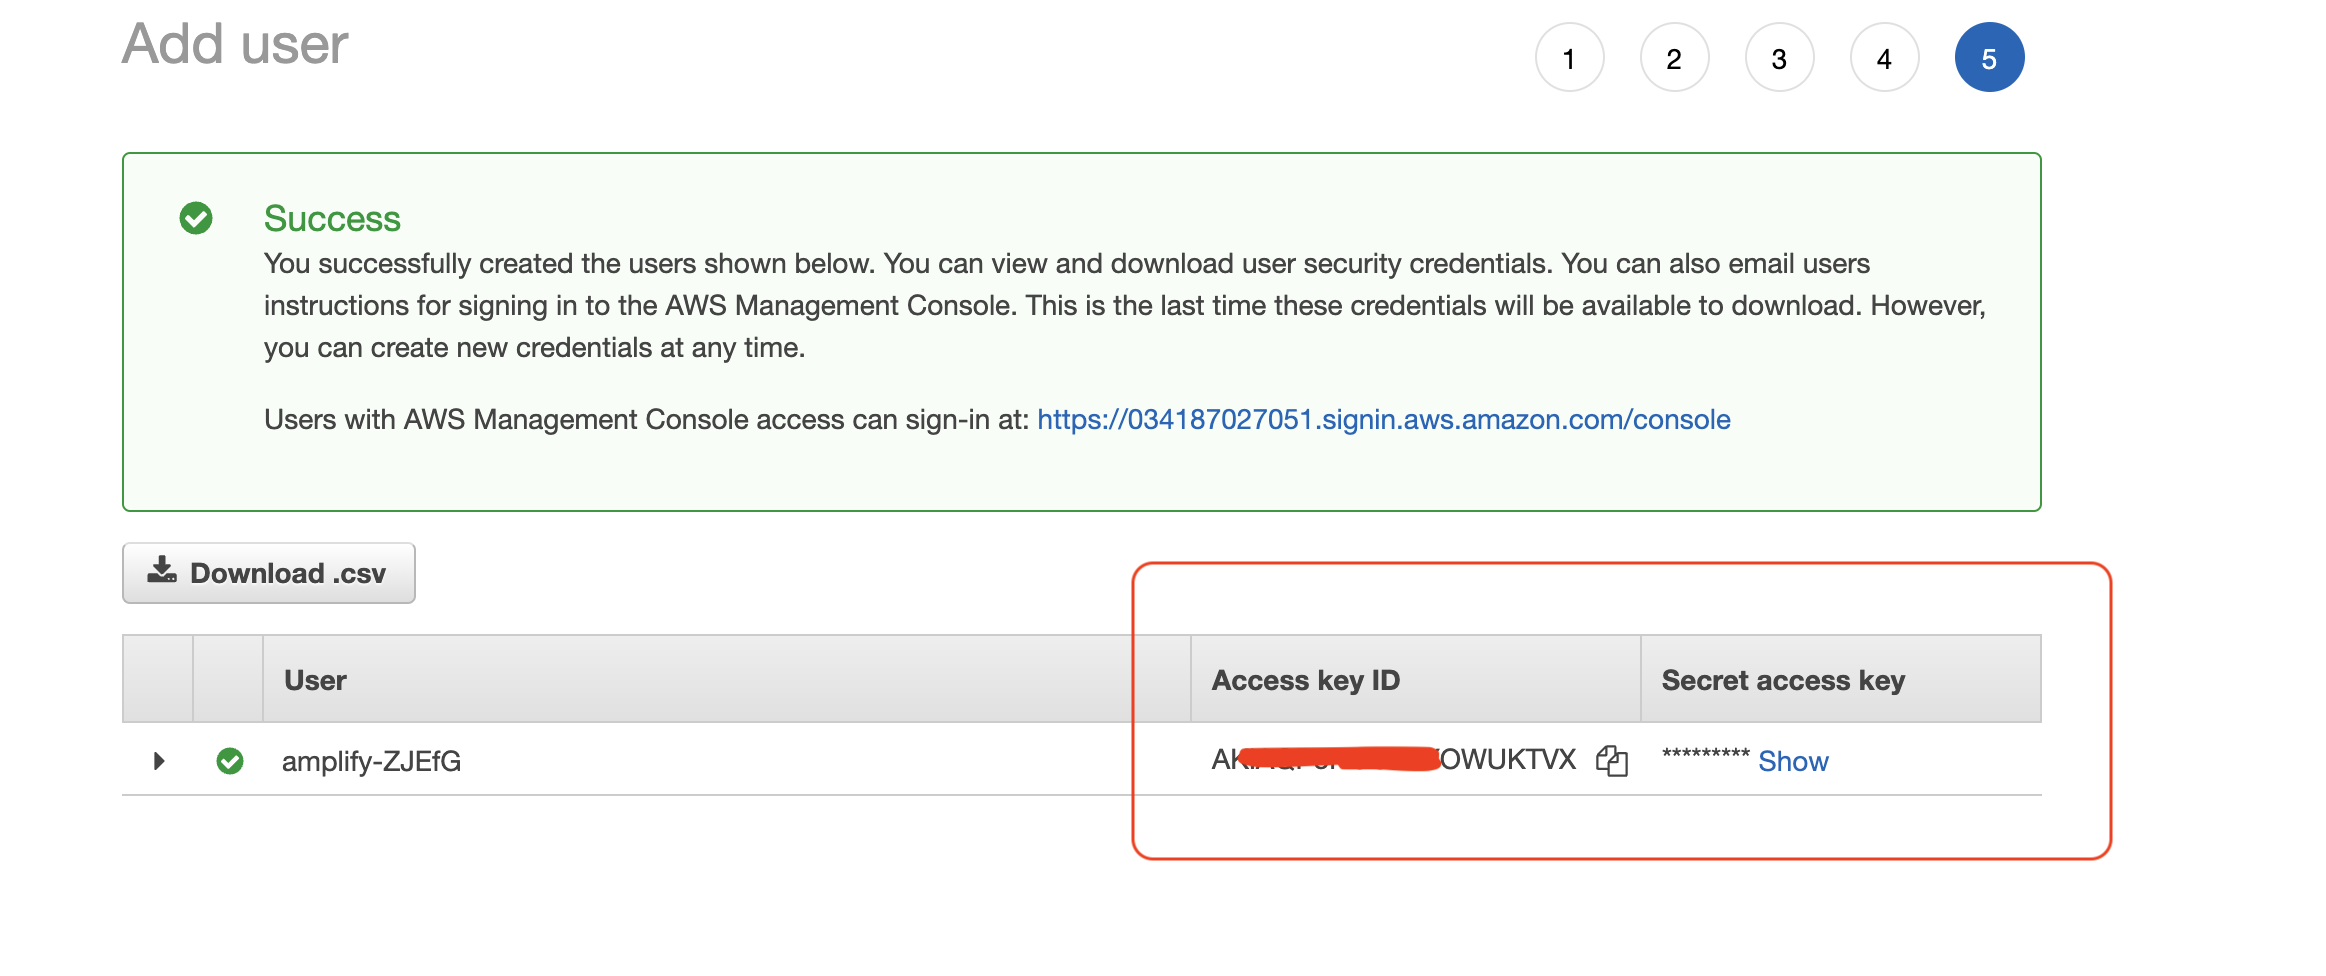
? accessKeyId: # YOUR_ACCESS_KEY_ID? secretAccessKey: # YOUR_SECRET_ACCESS_KEY? Profile Name: # (default) <== YOU CAN USE THE DEFAULT PROFLE HERE
You will see the message in the console Successfully set up the new user , you are good to go. Next we'll set up the app and initialize Amplify!
2. Setup the Next.js project
For this project, we will use Yarn as node package manager.
On the CLI, run the following to initialize an empty next.js project with typescript language yarn create next-app foxnews --typescript && cd foxnews
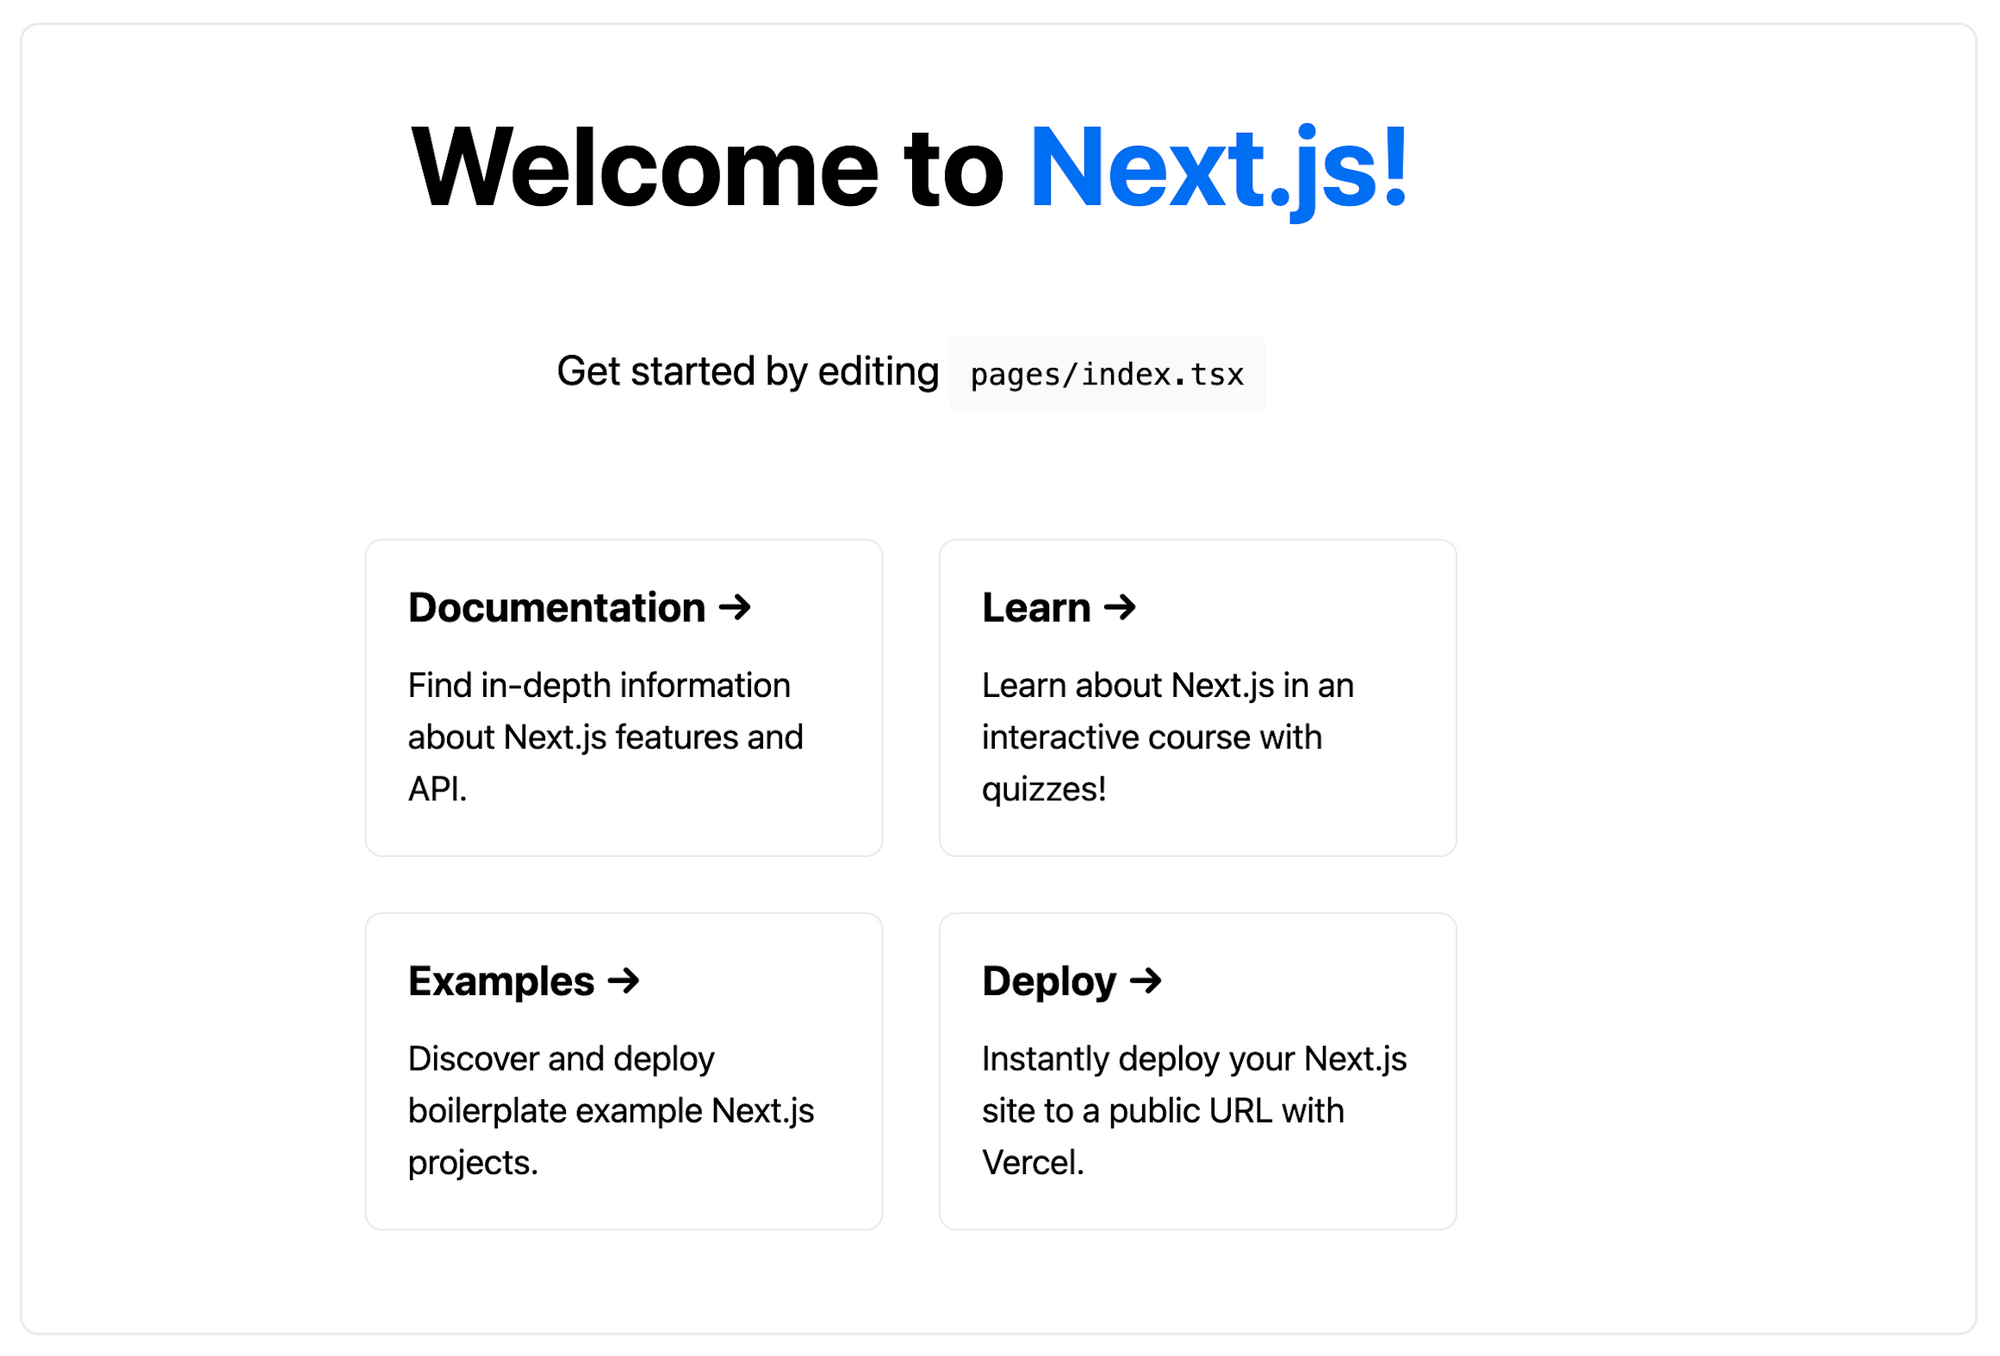
Now we have a basic Next.js project. run yarn dev and it will display the default welcome page of Next.js app.
Create a git repository here and link to the newly created project. If you don't have a github account, sign up here
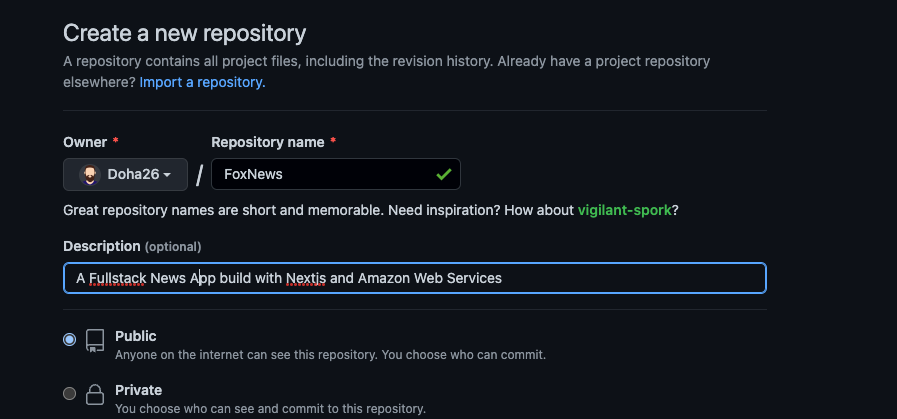
You can find your repository URL here.
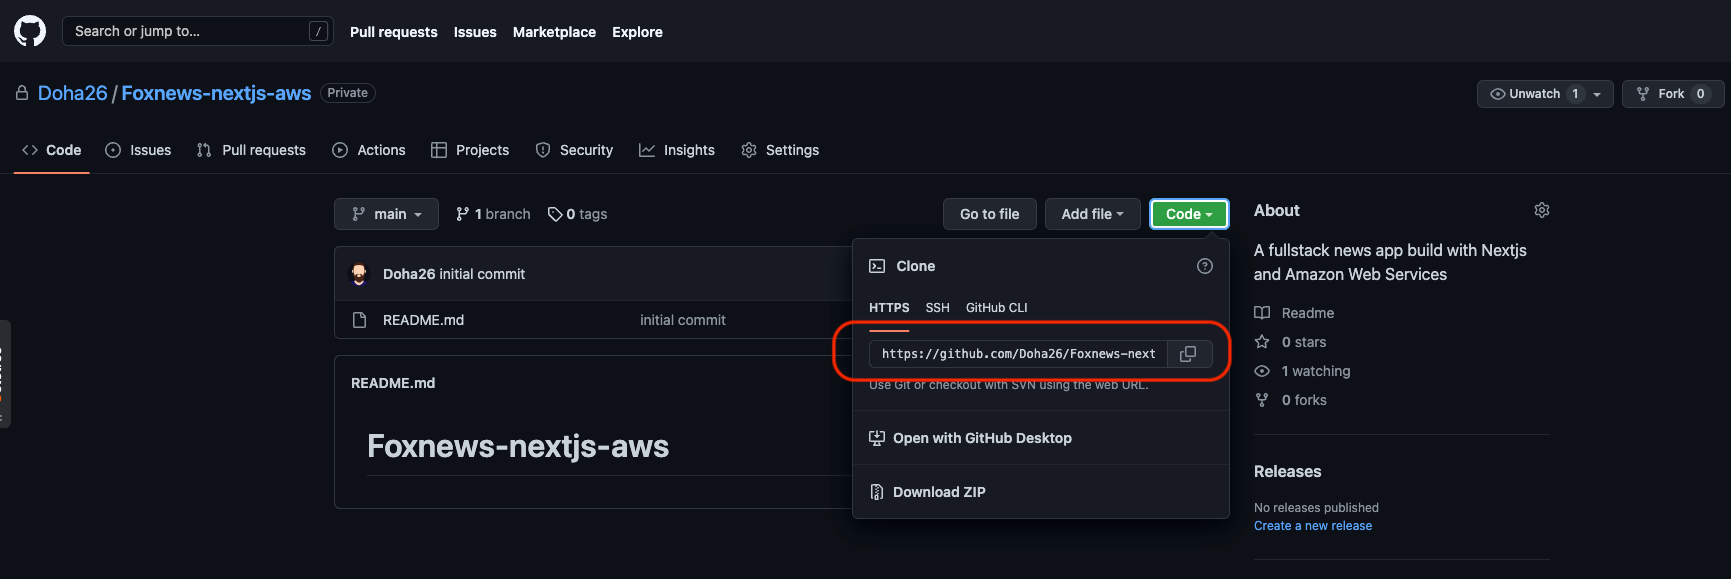
Now initialize git on the project we just created and link to the remote project with the following:
git init
git remote add origin https://github.com/Doha26/Foxnews-nextjs-aws.git // REPLACE WITH YOUR REPO URL
git add .
git commit -m ‘first commit’
git branch -M main
git push -u origin main
Good, the project is ready for version control. Let's setup Amplify now !
3. Configure Amplify with the project
On the command line, run amplify init to register your project with the amplify framework. It will ask you some questions:
? Enter a name for the projectyour project name? Initialize the project with the above configuration?Yes? Select the authentication method you want to useAWS profile? Please choose the profile you want to usedefault
Lets amplify create everything and when everything will be set, you will see the following output
✔ Successfully created initial AWS cloud resources for deployments.
✔ Initialized provider successfully.
✅ Initialized your environment successfully.

Your project has been successfully initialized and connected to the cloud!
At this step, our project is ready with Amplify framework. Let's deploy this basic setup on AWS as Amplify now support SSR web apps.
4. Deploy
For this step, go to the Amplify console ️and follow the steps bellow to connect amplify to your github repo.
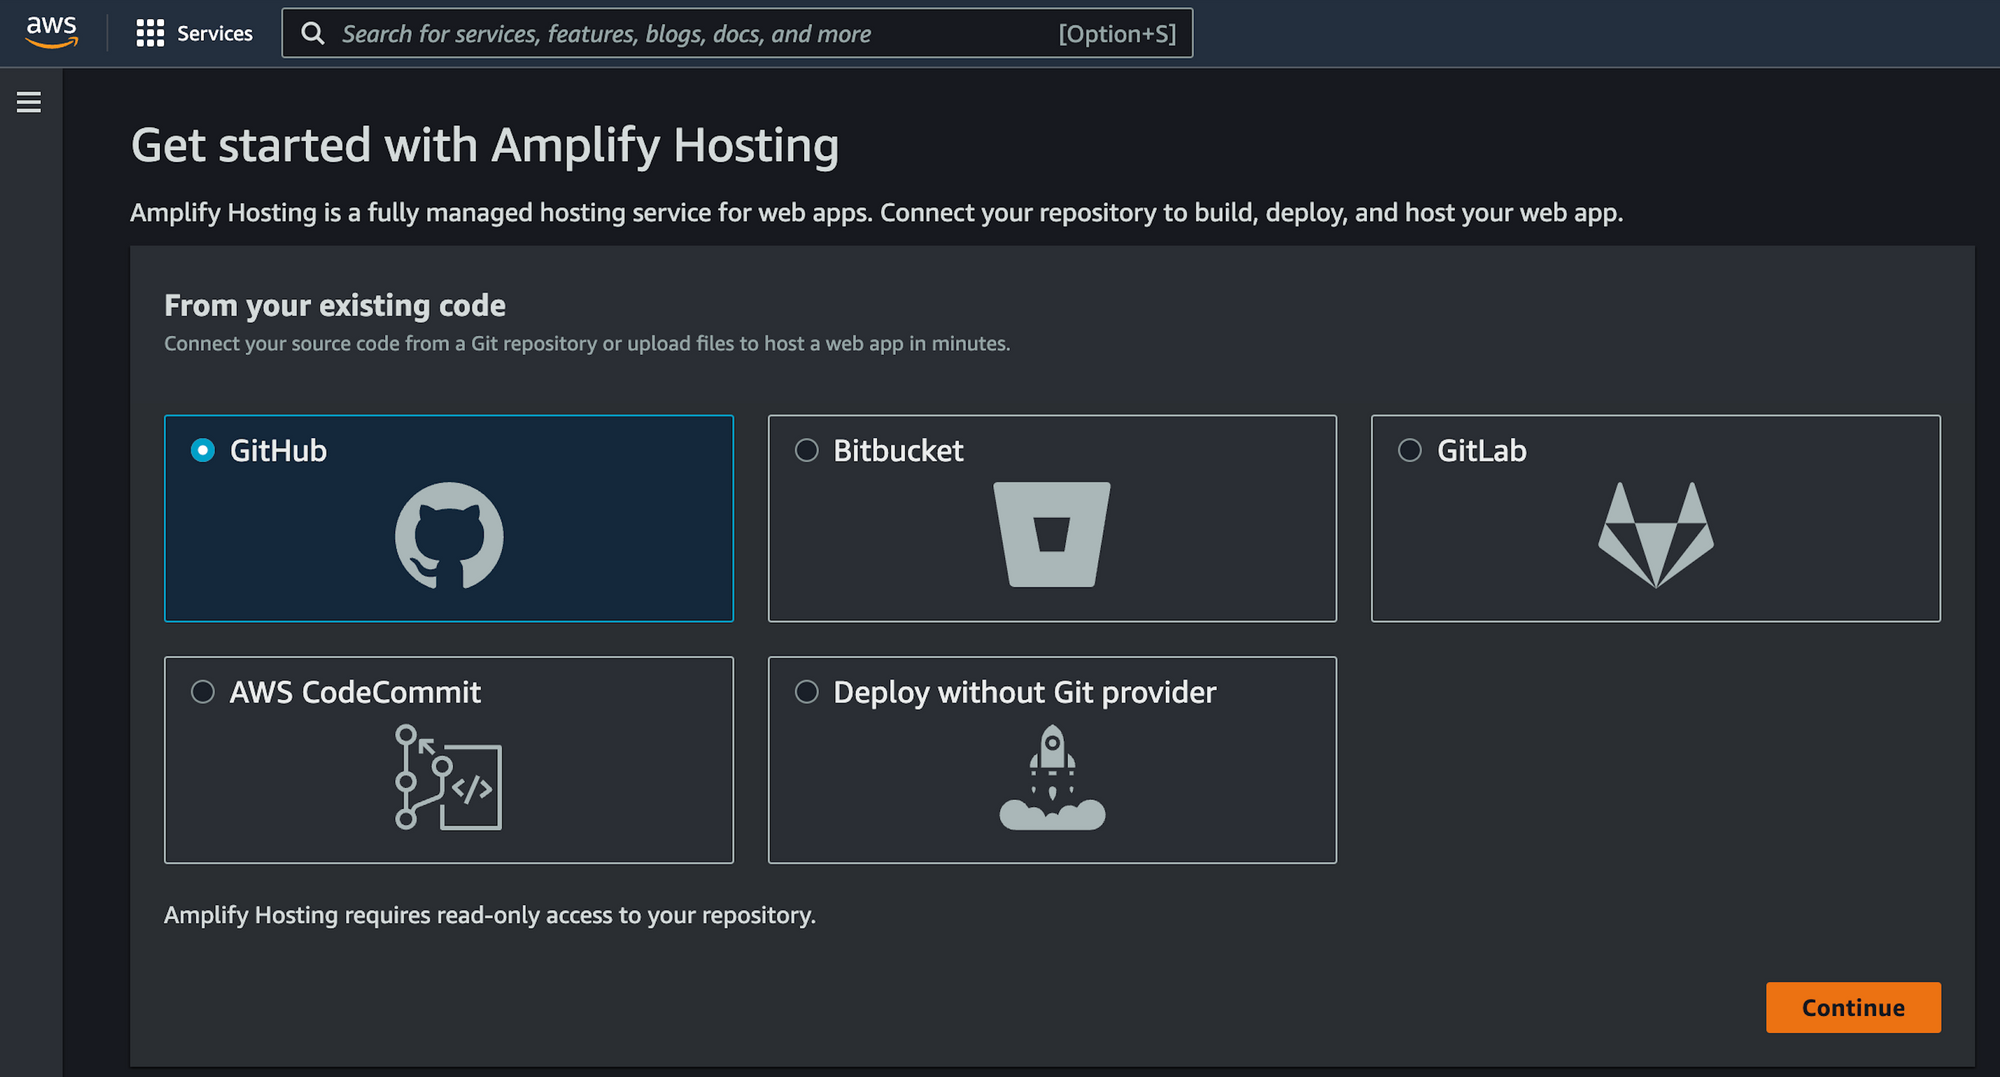
On the Next screen, choose your repo and select the branch to deploy. In our case, we want to deploy the main branch.
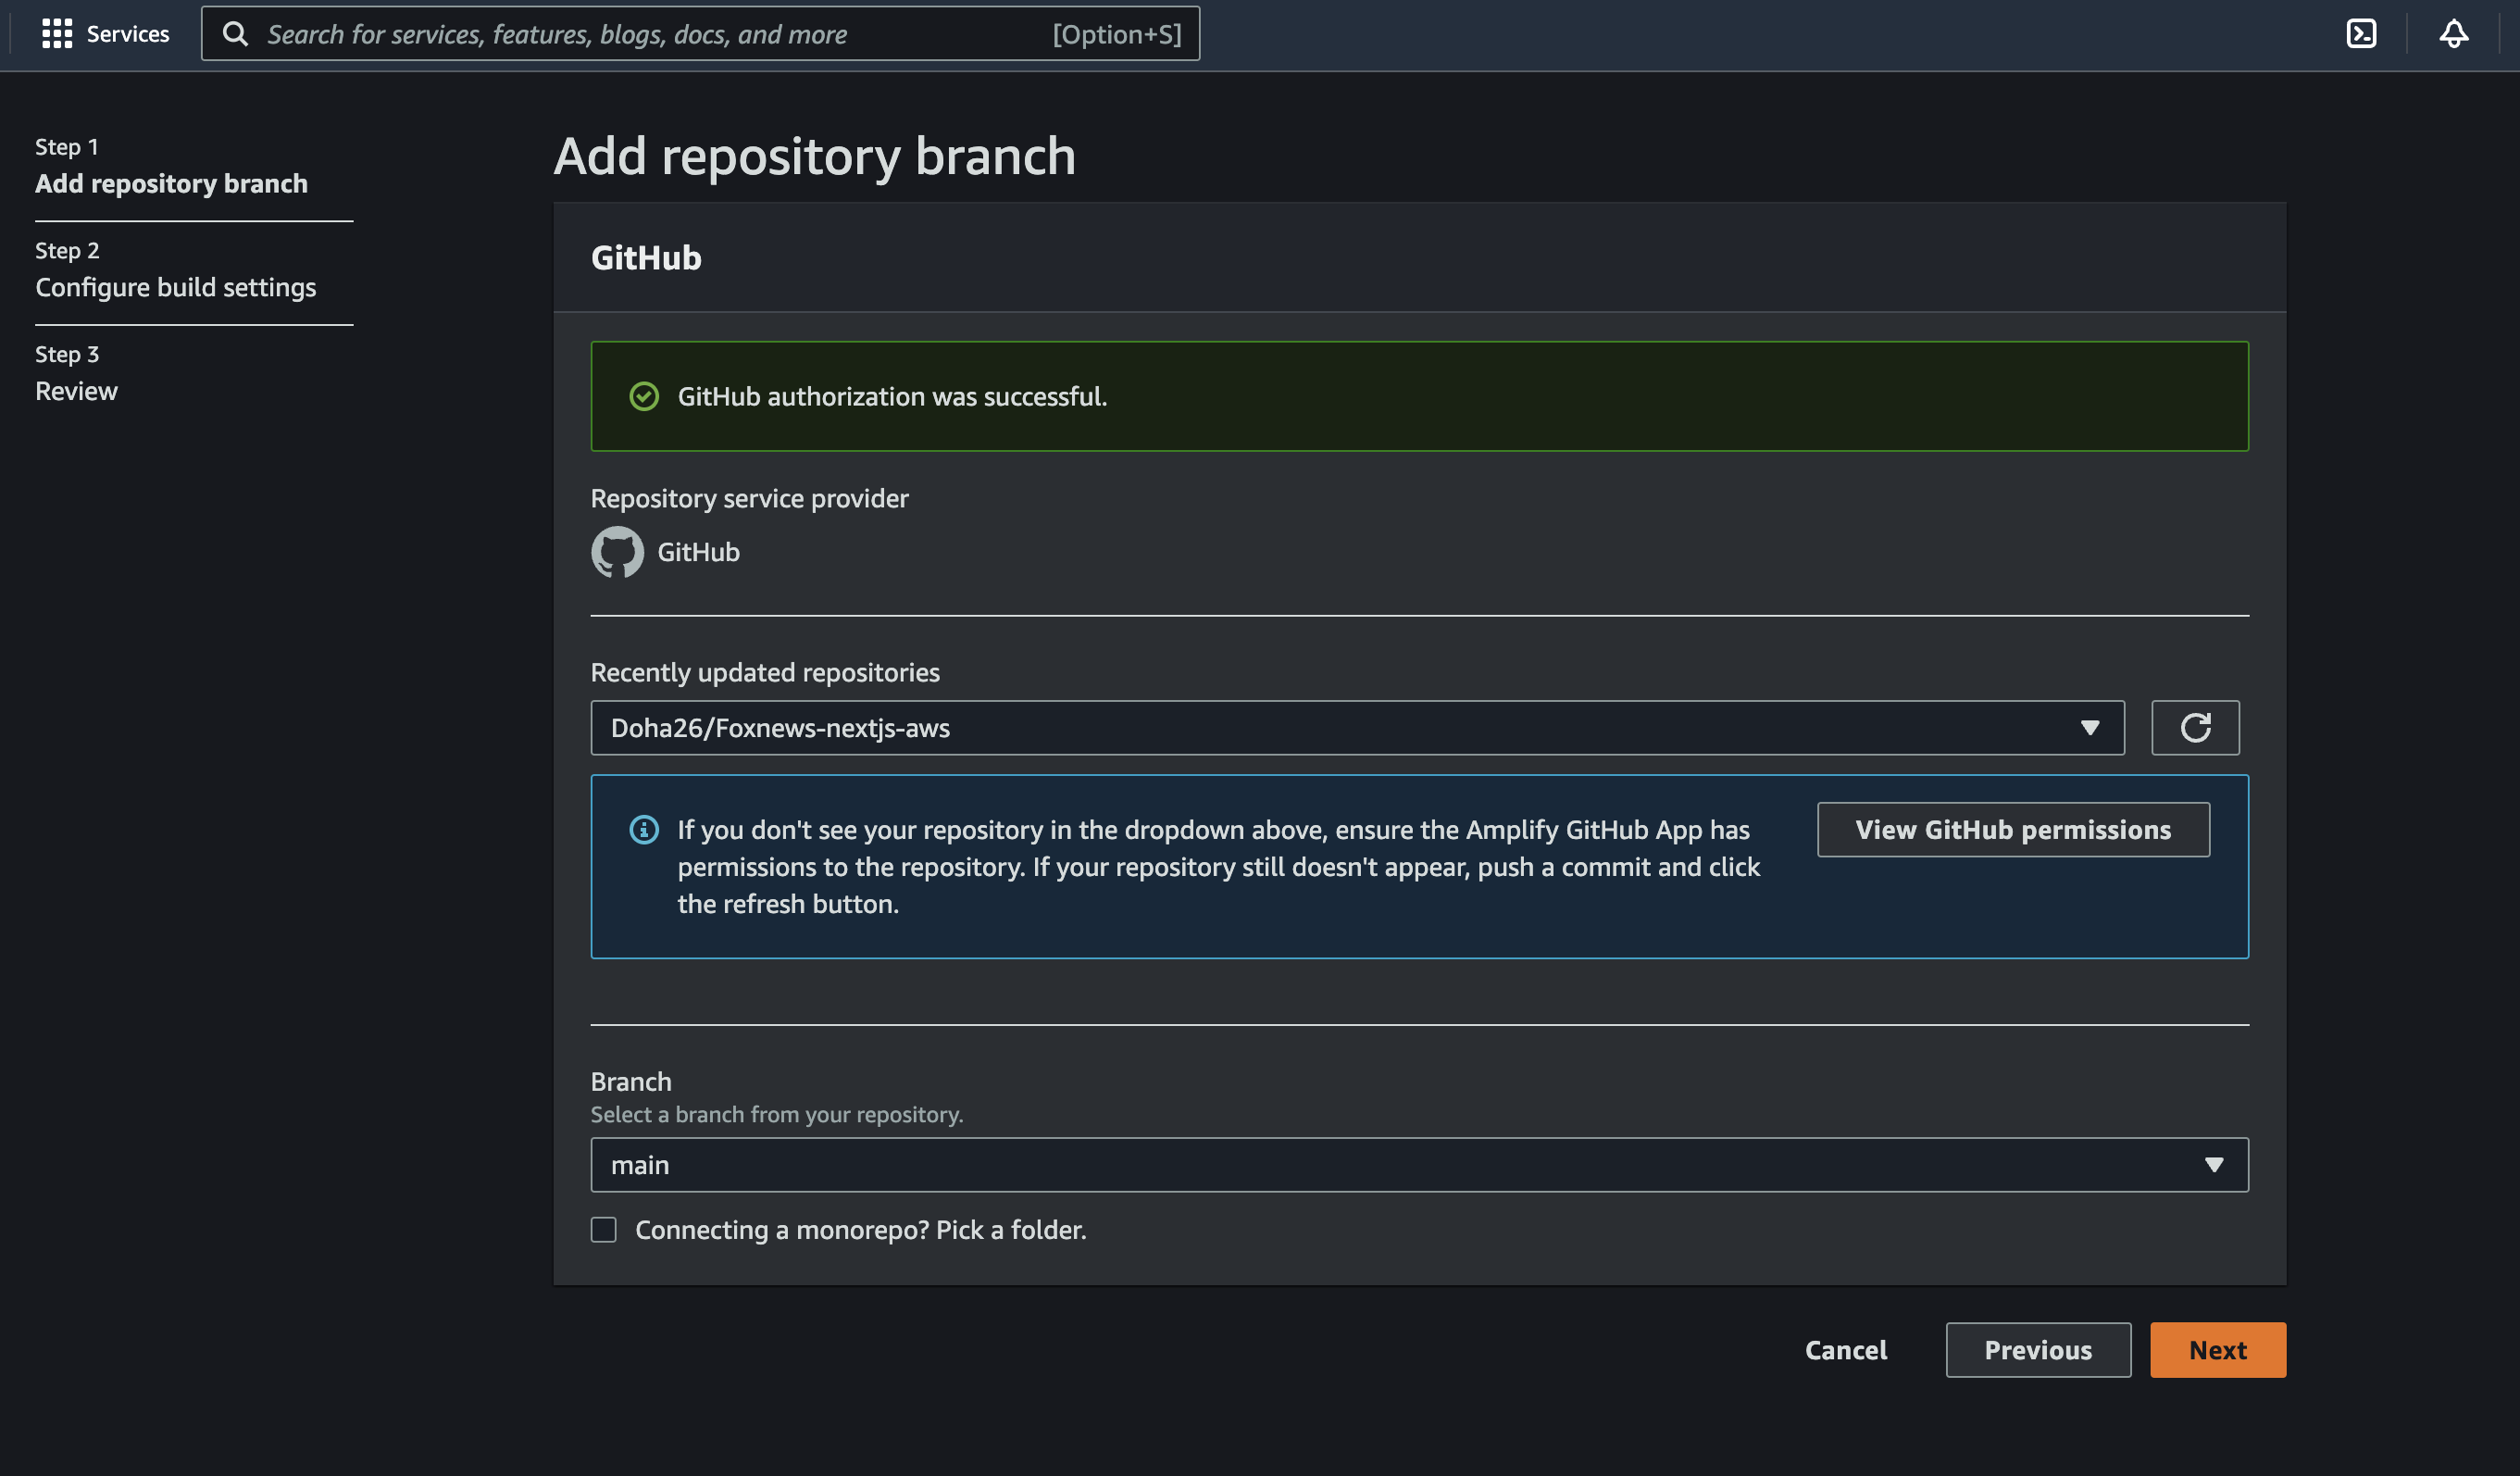
On the Next screen, Amplify will automatically detect that we are trying to host a Next.Js App with SSR and build settings will auto-populate.
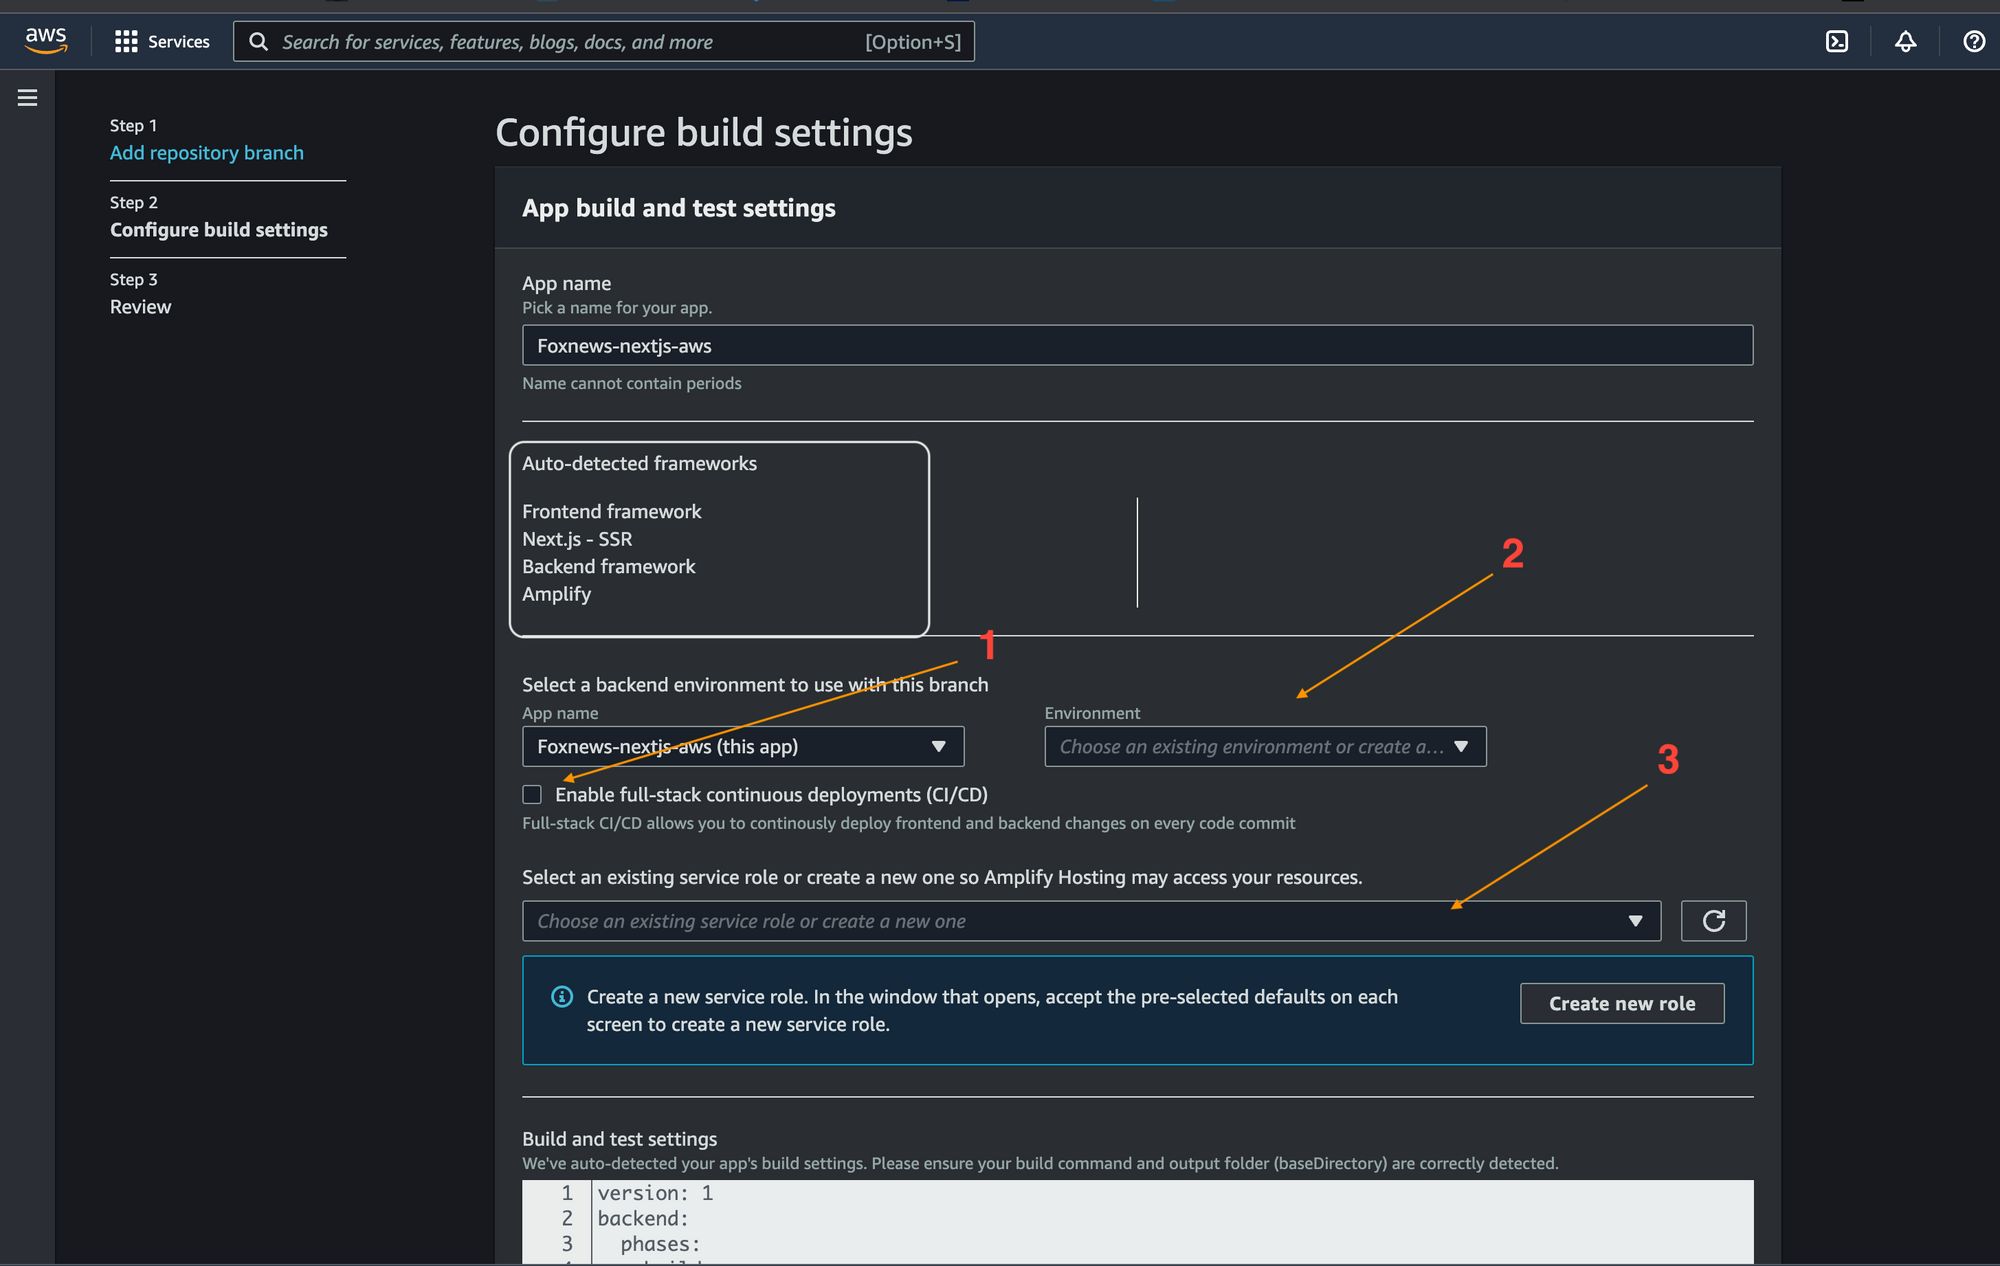
- Check
Enable full-stack continuous deployments (CI/CD) - On
Environmentdropdown , leave it empty and amplify will use the default branchmainfor now. - On select existing services. Click on
Create new rolethis will open a new window and ask you to create a new user
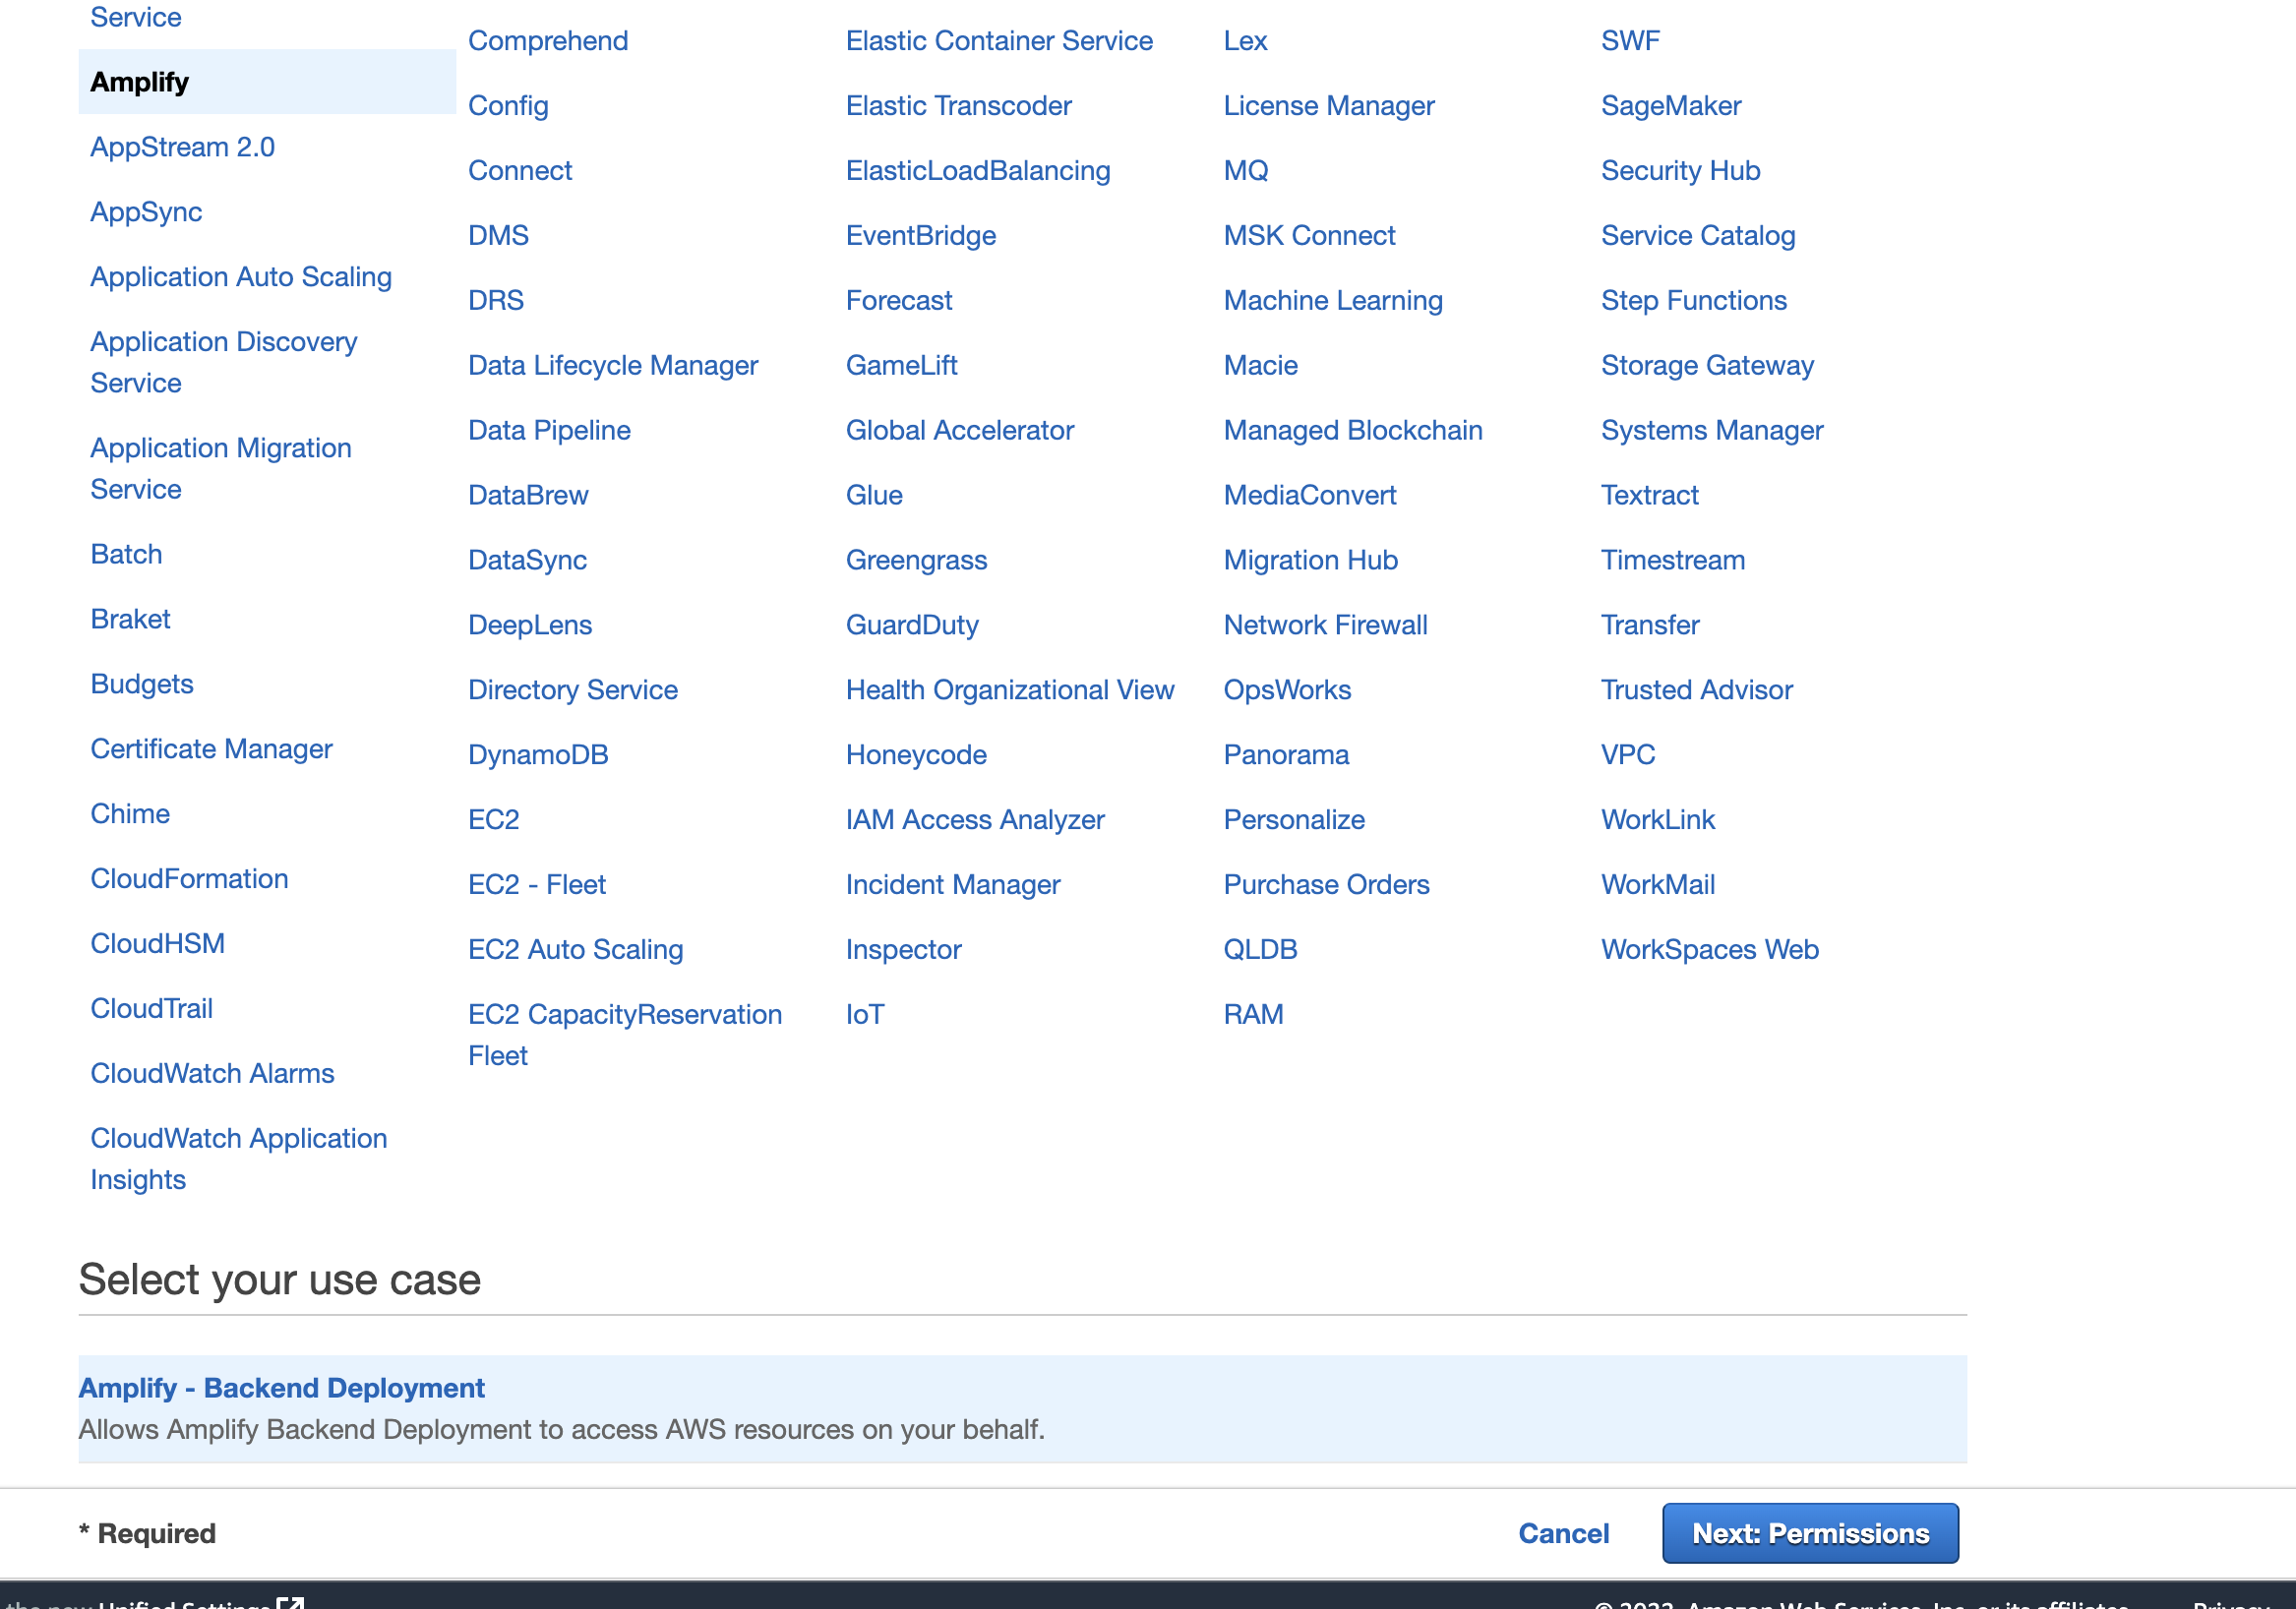
On this screen, make sure Amplify service is selected and click Next:Permissions

Here, click Next
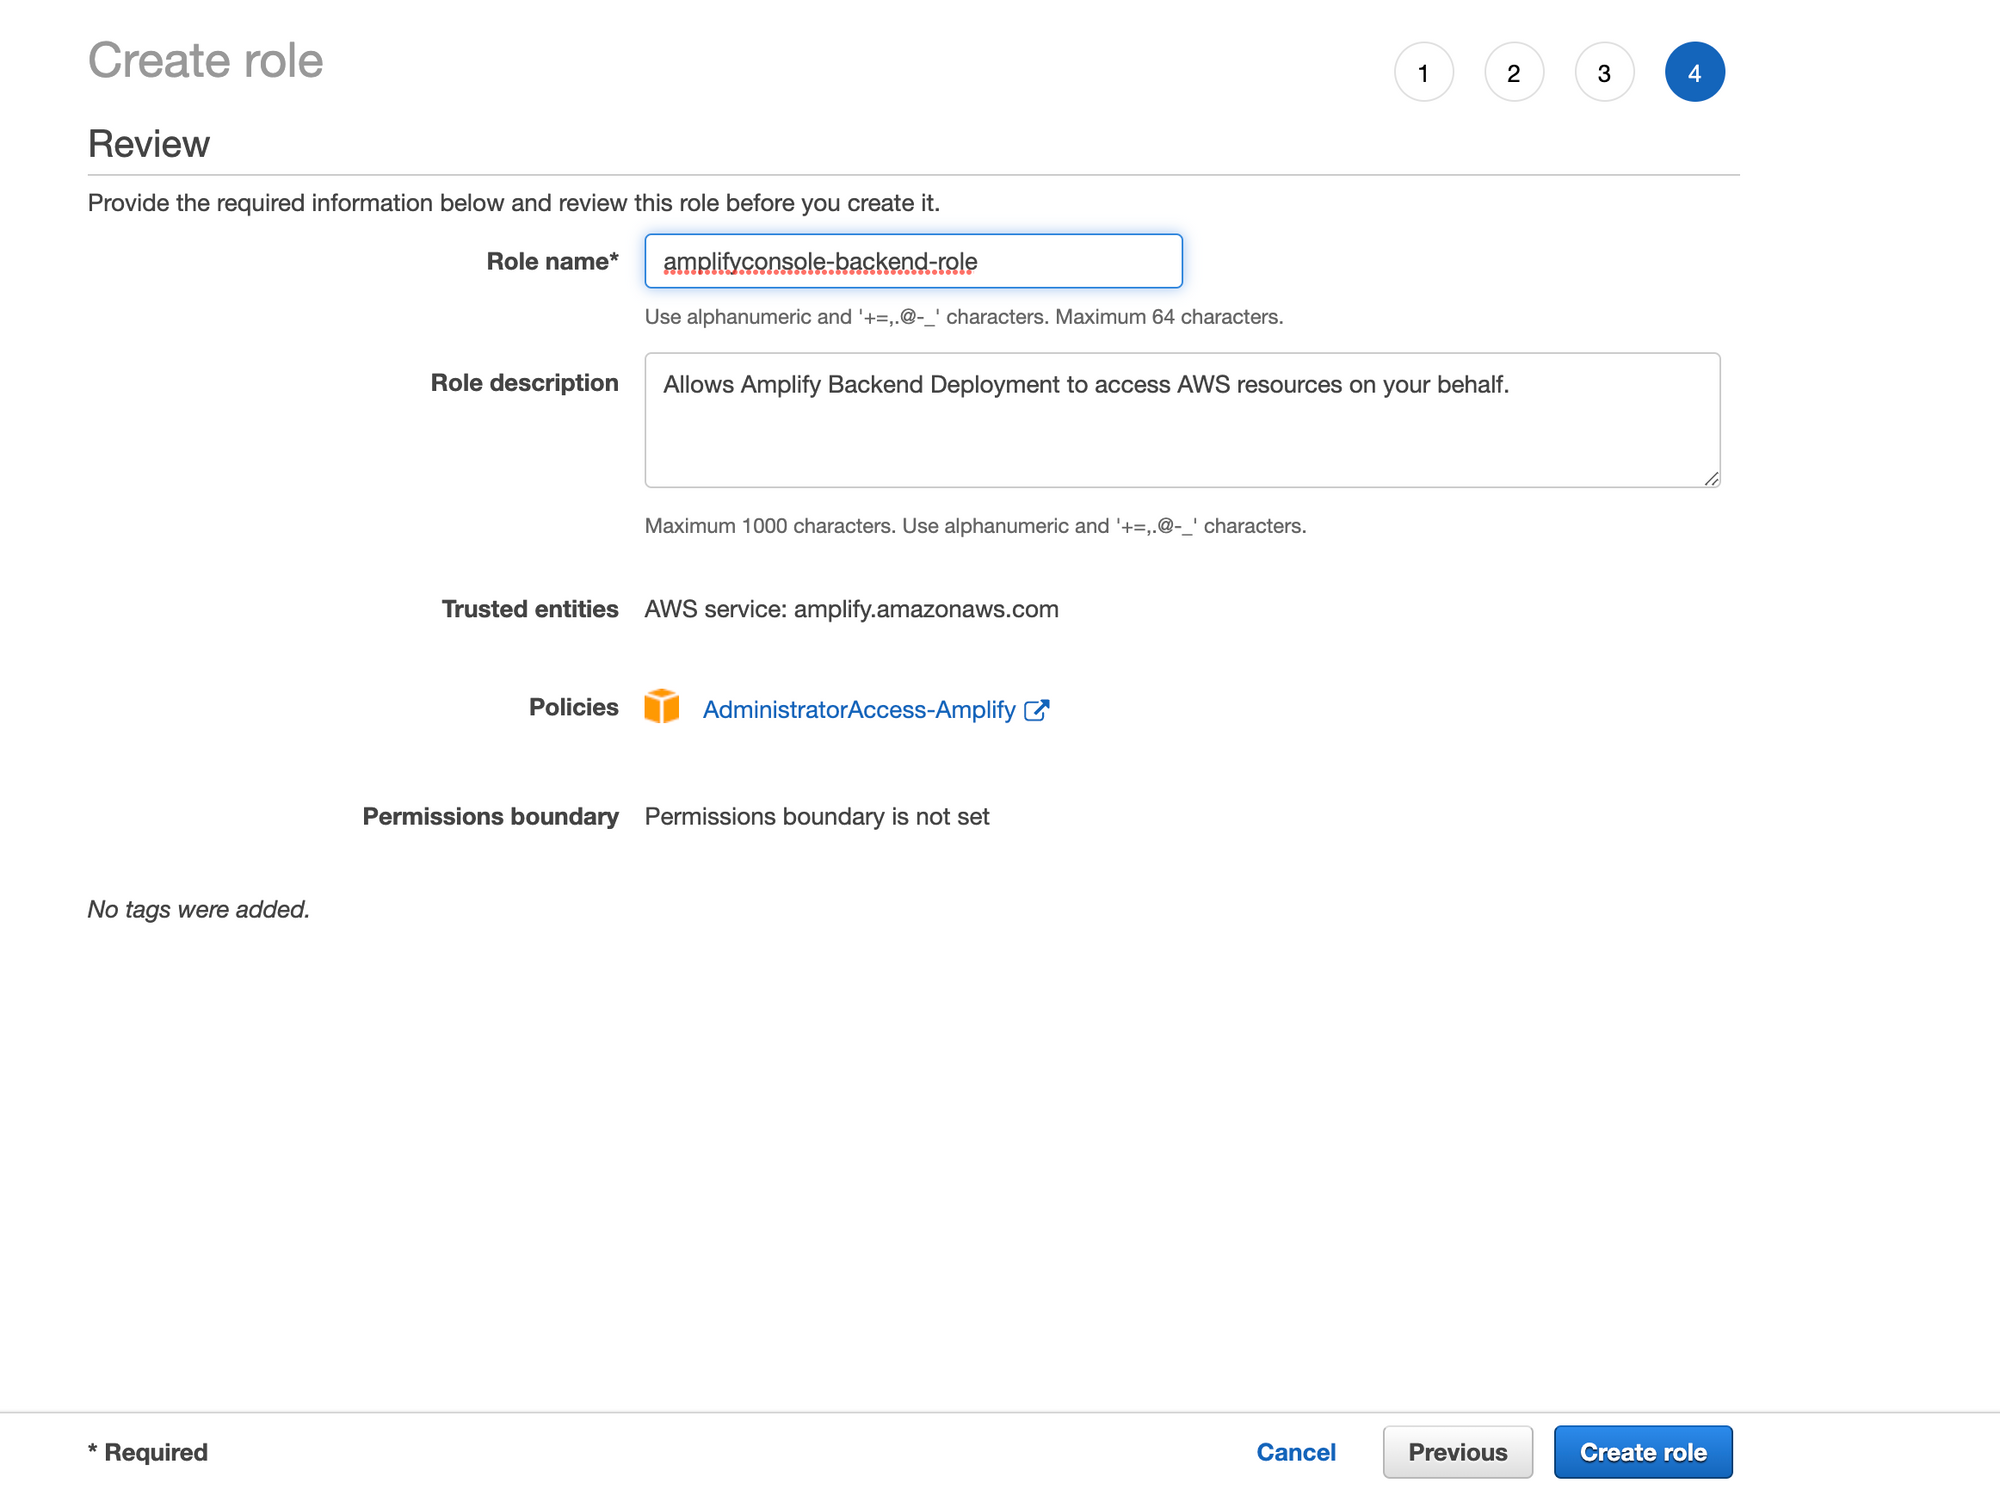
Click Create role
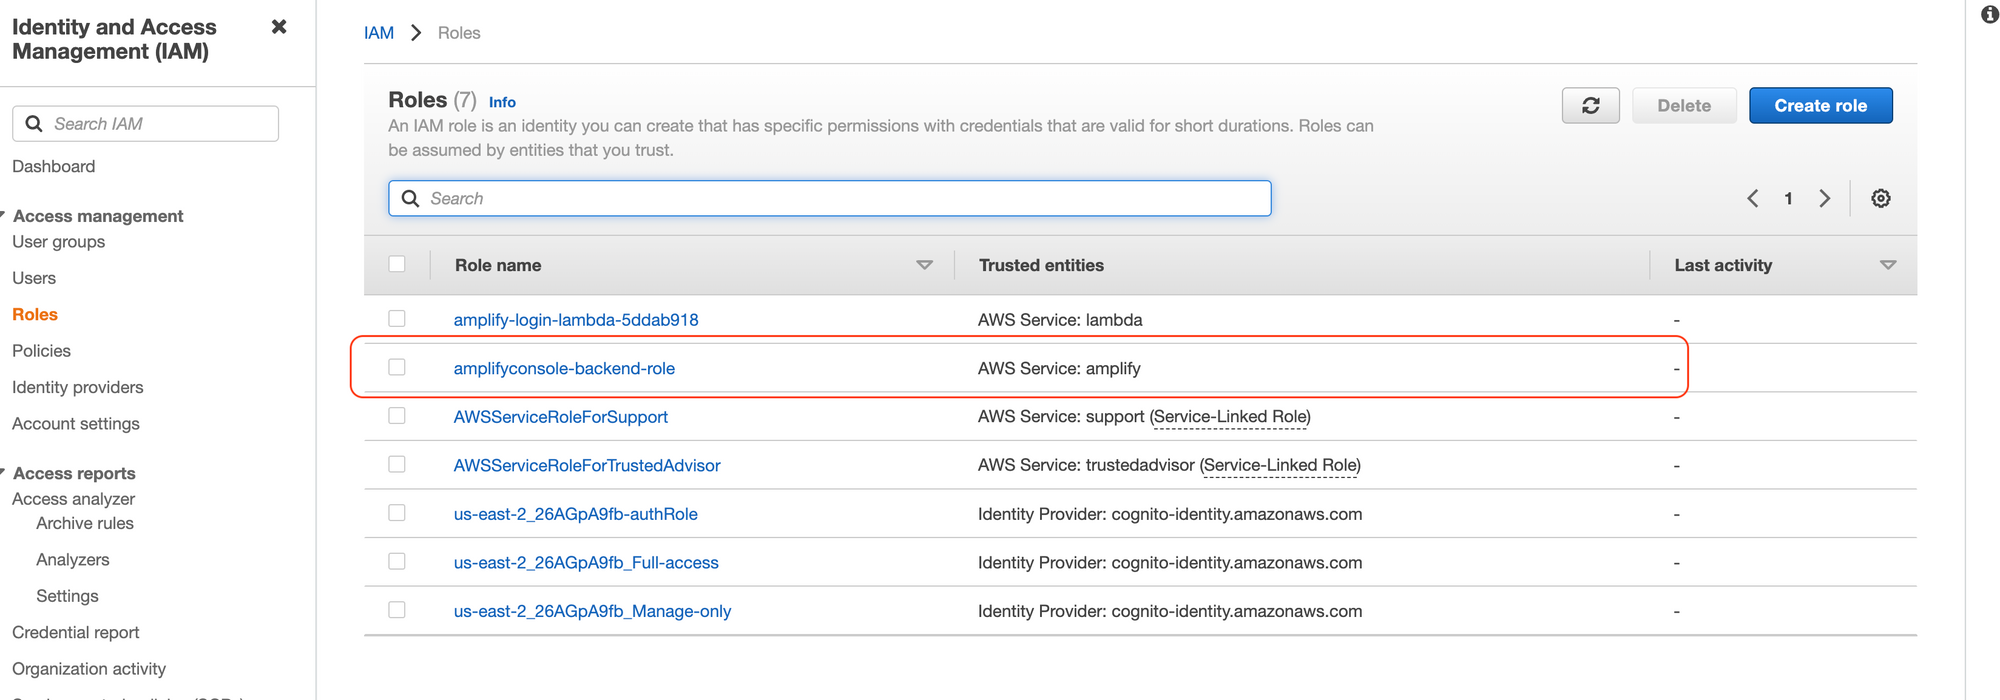
Here is the newly created user role. Select this role for Configure build settings and you click Continue.

On the last screen, you can Review your settings and YEAH. Your app is ready for deploy. On this screen, click Save and Deploy. AWS will complete the following steps during few minutes and then deploy your Next.js app on a subdomain main.app_id.amplifyapp.com
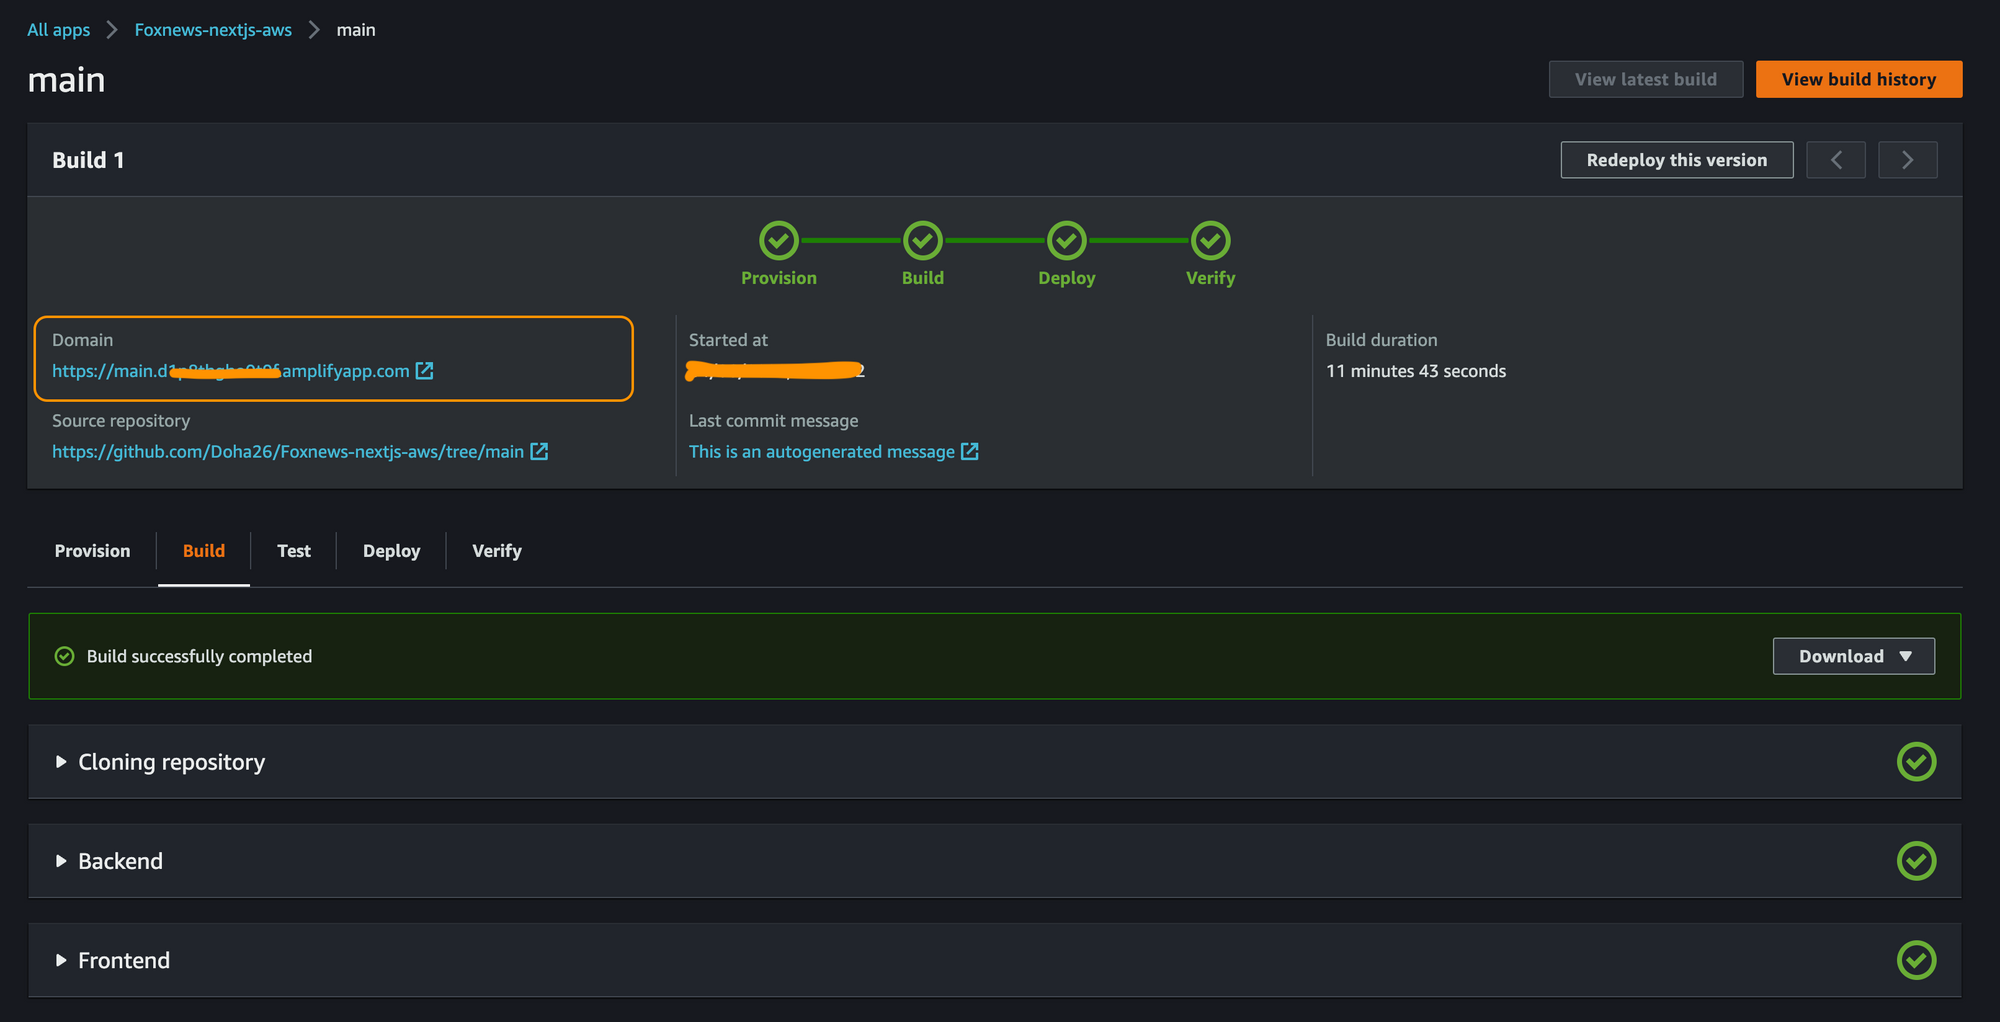
Behind the scenes, Amplify creates AWS resources used to deploy your app -- first an Amazon S3 bucket to store your app's static assets, then an Amazon CloudFront to serve your app itself, finally a Lambda@Edge function to SSR pages.
Click on the preview link , you will see the welcome page of the next.js app. Our App is ready on Amplify 🎉
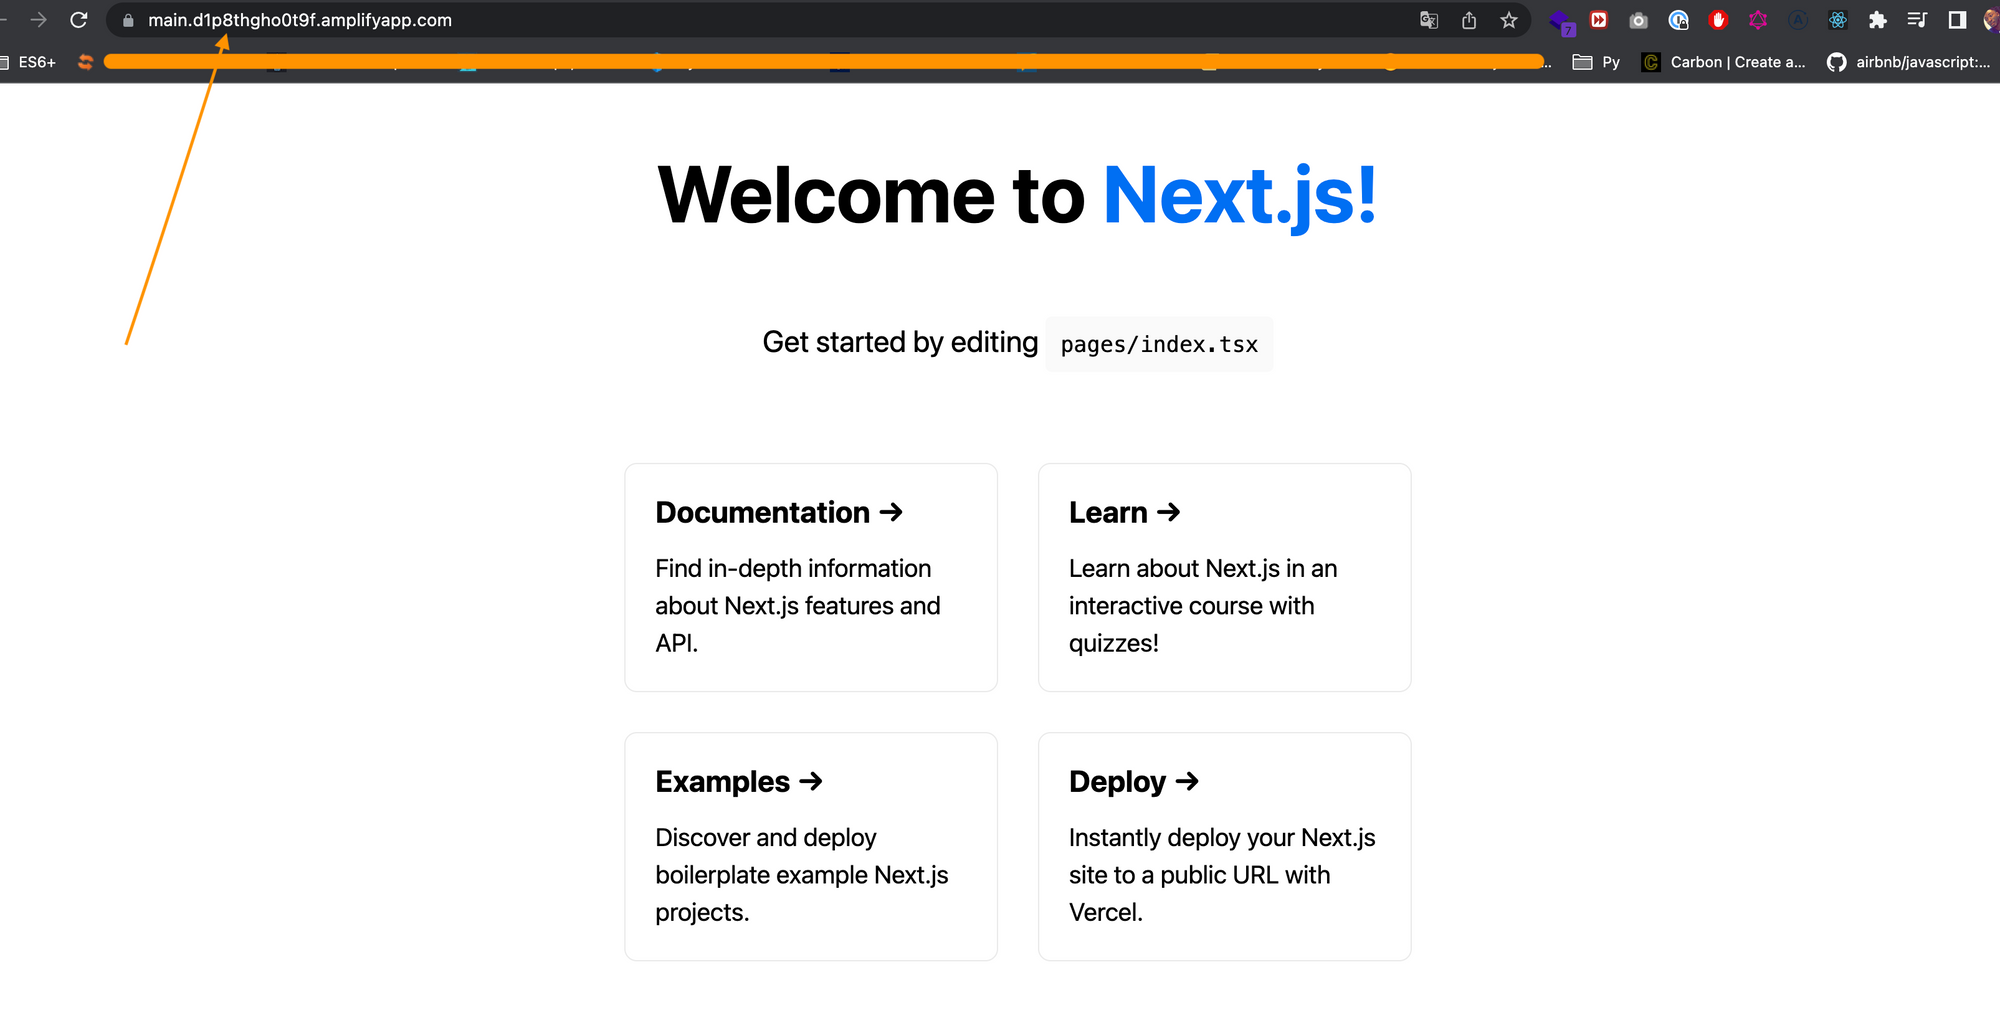
We have completed this First Part of the tutorial. In the next tutorial, we will build the UI Layer of the app to fetch and display news.
Thanks for reading. The source code is available here
Follow me on socials media to stay up to date with latest posts.


