In the previous post, we covered the Part 1 of this series. We focused on creating a github repository and configured Github Actions to host a docker image of a NestJS backend. In this post, we will see how to update our Github actions workflow to deploy the image to Heroku.
1. Create Heroku App
As described in the previous post, Heroku is a platform as a service (PaaS) that enables developers to build, run, and operate applications entirely in the cloud. We will host our NestJS Backend here. To do this, go to https://signup.heroku.com/ to create a free Heroku account. Once done, you will access the dashboard.
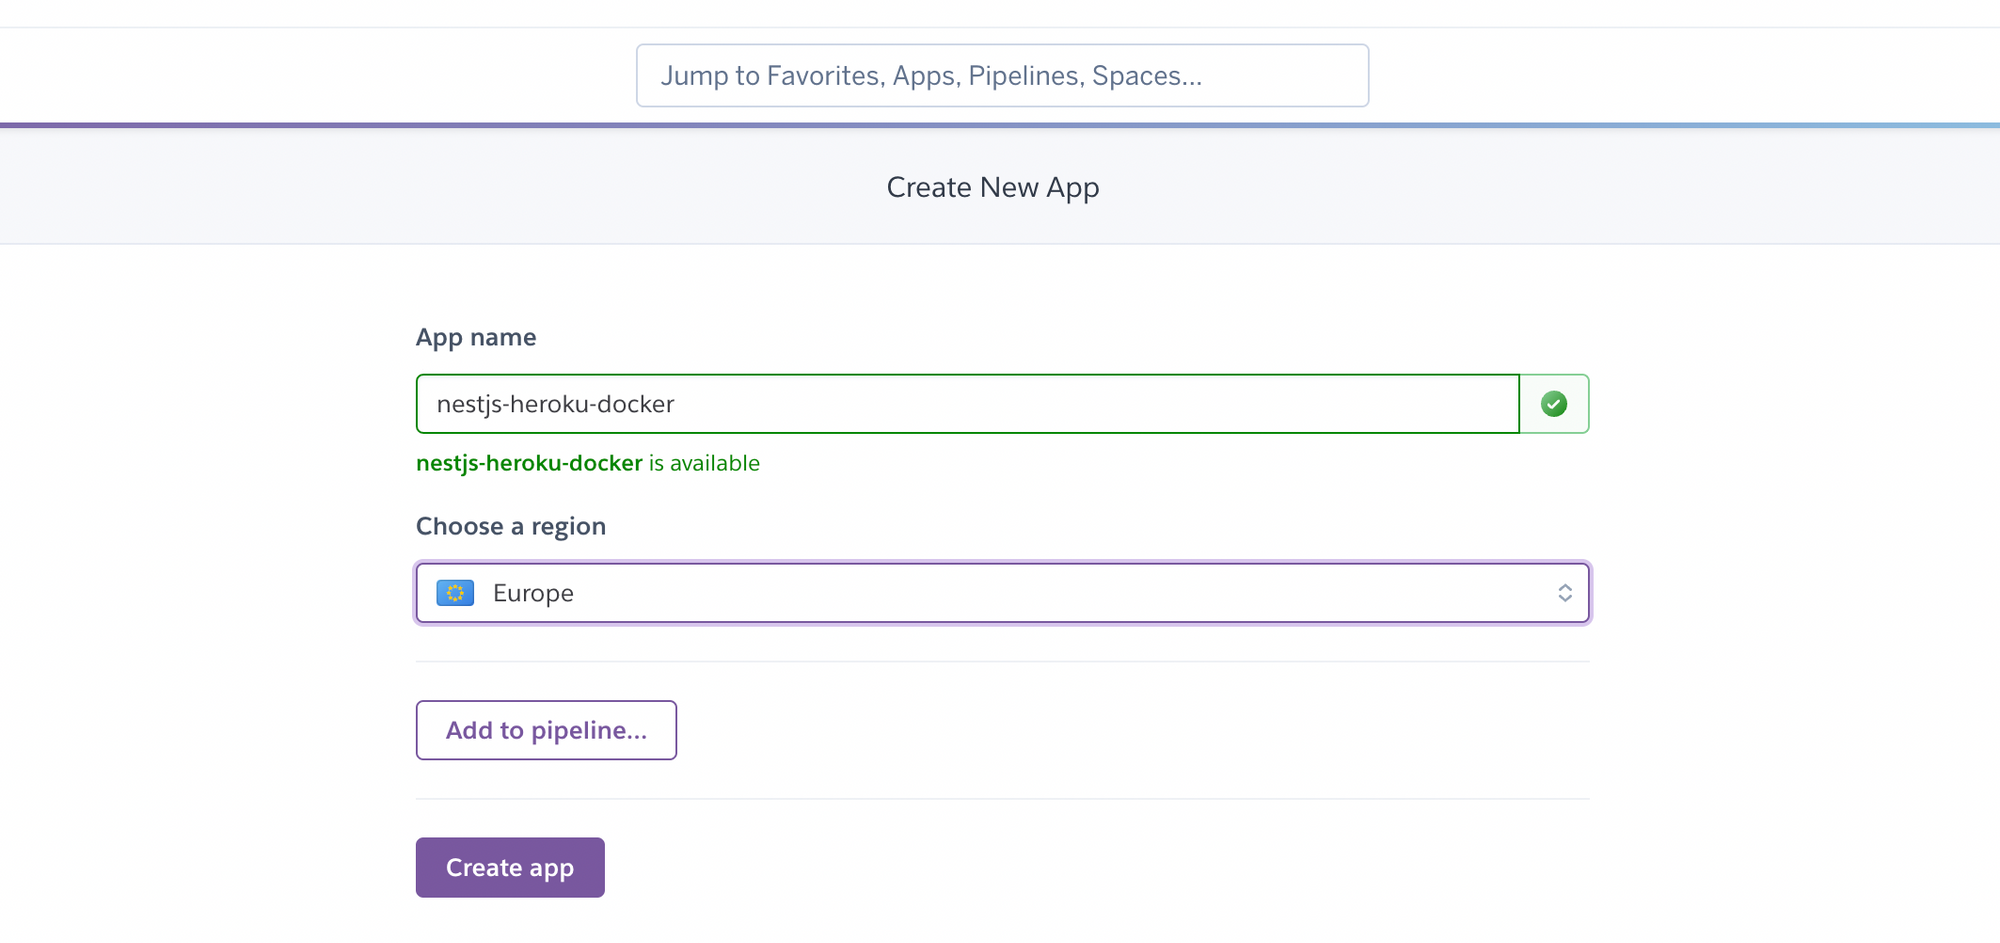
Click on New -> Create new app

set the app name, then choose the region and then hit the Create app button.
Get an HEROKU_API_KEY for Github Actions. On the dashboard, Go to Account settings -> API Key. Then click on Reveal Button at the right to display your API Key.

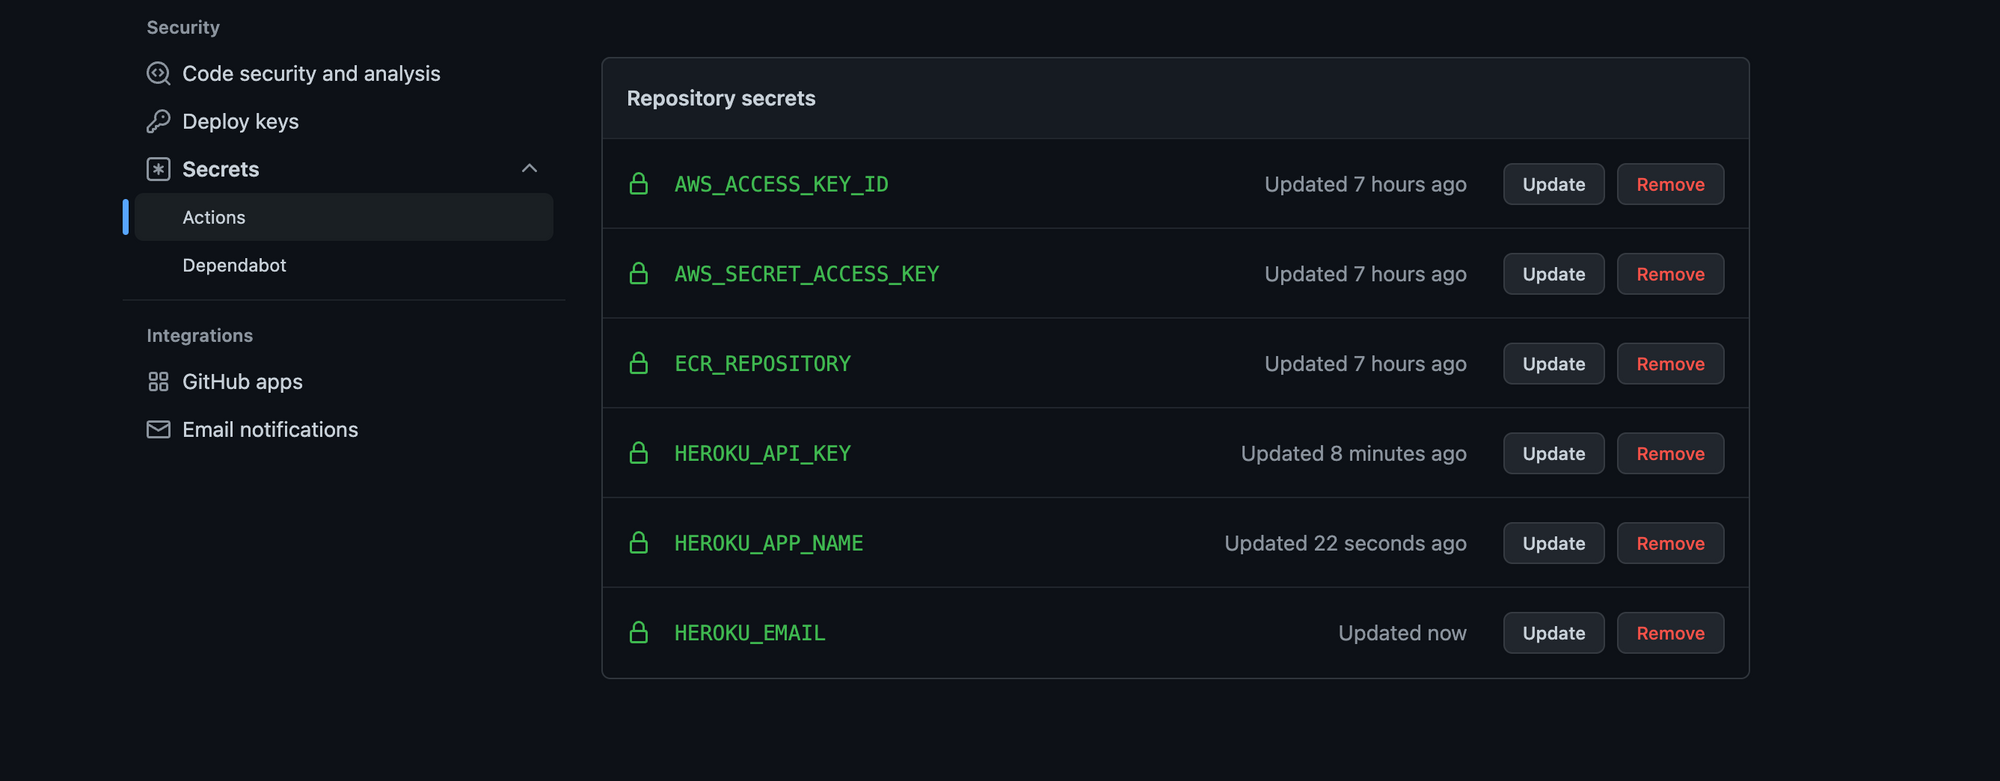
Copy this Key as HEROKU_API_KEY on Github Actions secrets as described on the previous post. You will also need to set HEROKU_APP_NAME (the name of the heroku app) and HEROKU_EMAIL (the email you used to create your heroku account). Our secrets now are the following.
Now, lets update the Github Actions workflow. Open .github/workflows/main.yml and update as follow.
name: NestJS-Backend:CI

on:
  push:
    branches: ['master']

jobs:
  build:
    name: 'Build Image'
    runs-on: ubuntu-latest

    steps:
      - name: Checkout
        uses: actions/checkout@v3

      - name: Configure AWS Credentials
        uses: aws-actions/configure-aws-credentials@v1
        with:
          aws-access-key-id: ${{ secrets.AWS_ACCESS_KEY_ID }}
          aws-secret-access-key: ${{ secrets.AWS_SECRET_ACCESS_KEY }}
          aws-region: us-west-2

      - name: Login to Amazon ECR
        id: login-ecr
        uses: aws-actions/amazon-ecr-login@v1

      - name: Build, tag, and push image to Amazon ECR
        env:
          ECR_REGISTRY: ${{ steps.login-ecr.outputs.registry }}
          ECR_REPOSITORY: ${{secrets.ECR_REPOSITORY}}
          IMAGE_TAG: ${{github.sha}}
        run: |
          docker build -t $ECR_REGISTRY/$ECR_REPOSITORY:$IMAGE_TAG .
          docker push $ECR_REGISTRY/$ECR_REPOSITORY:$IMAGE_TAG

      - name: Logout to Amazon ECR
        if: always()
        run: docker logout ${{steps.login-ecr.outputs.registry}}

deploy: ## <= ADDED
    if: ${{ github.ref == 'refs/heads/master' }}
    needs: [build]
    runs-on: ubuntu-latest
    steps:
      - uses: actions/checkout@v2
      - uses: akhileshns/heroku-deploy@v3.12.12
        with:
          heroku_api_key: ${{secrets.HEROKU_API_KEY}}
          heroku_app_name: ${{secrets.HEROKU_APP_NAME}}
          heroku_email: ${{secrets.HEROKU_EMAIL}}
          remote_branch: master
Then push it on github. The following will be displayed
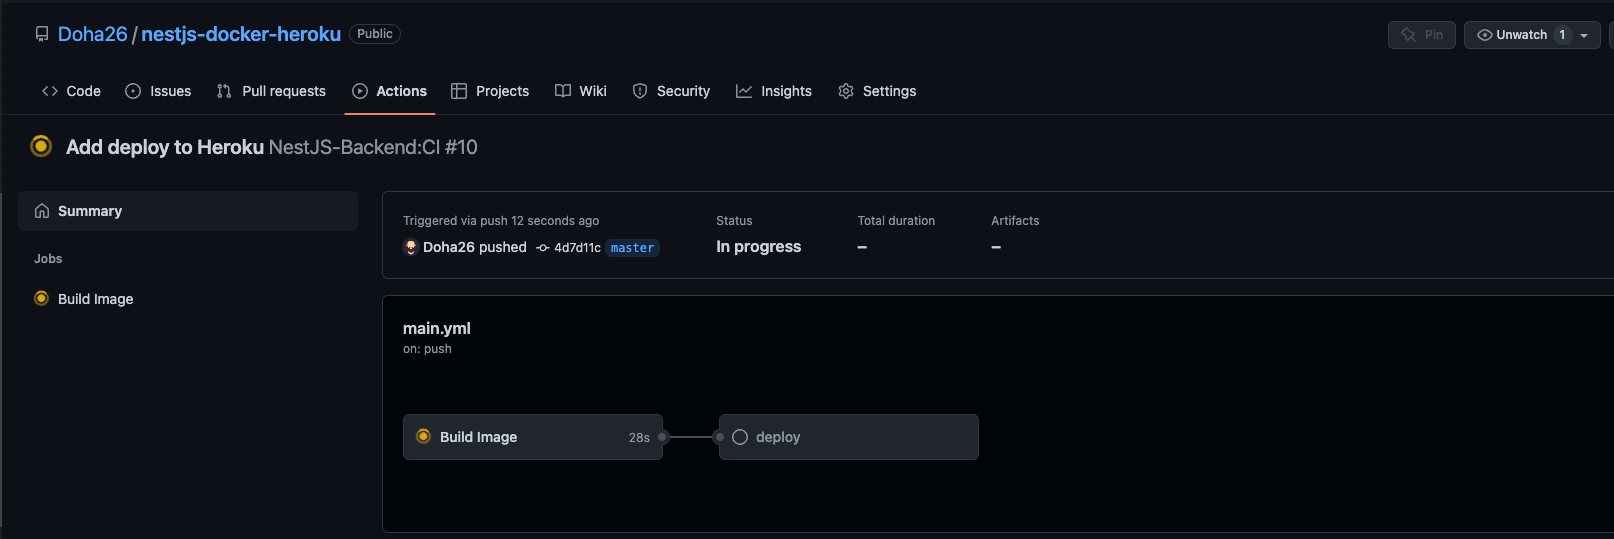
and you will see the following at the end of the deploy
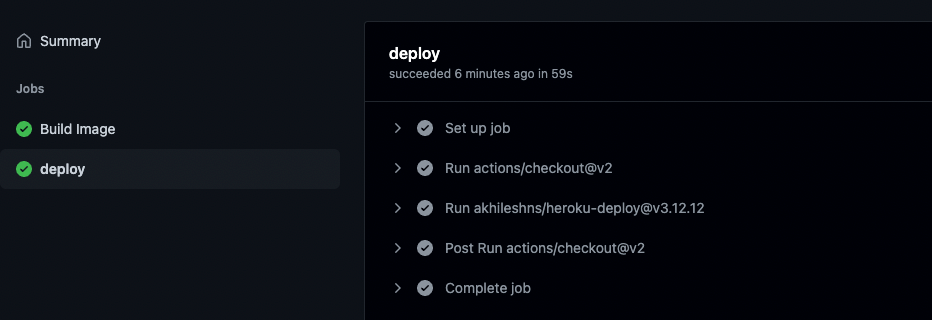
Now let's see what's happening on Heroku.
If we click on the logs of the heroku app on the dashboard here

we can see the following output.
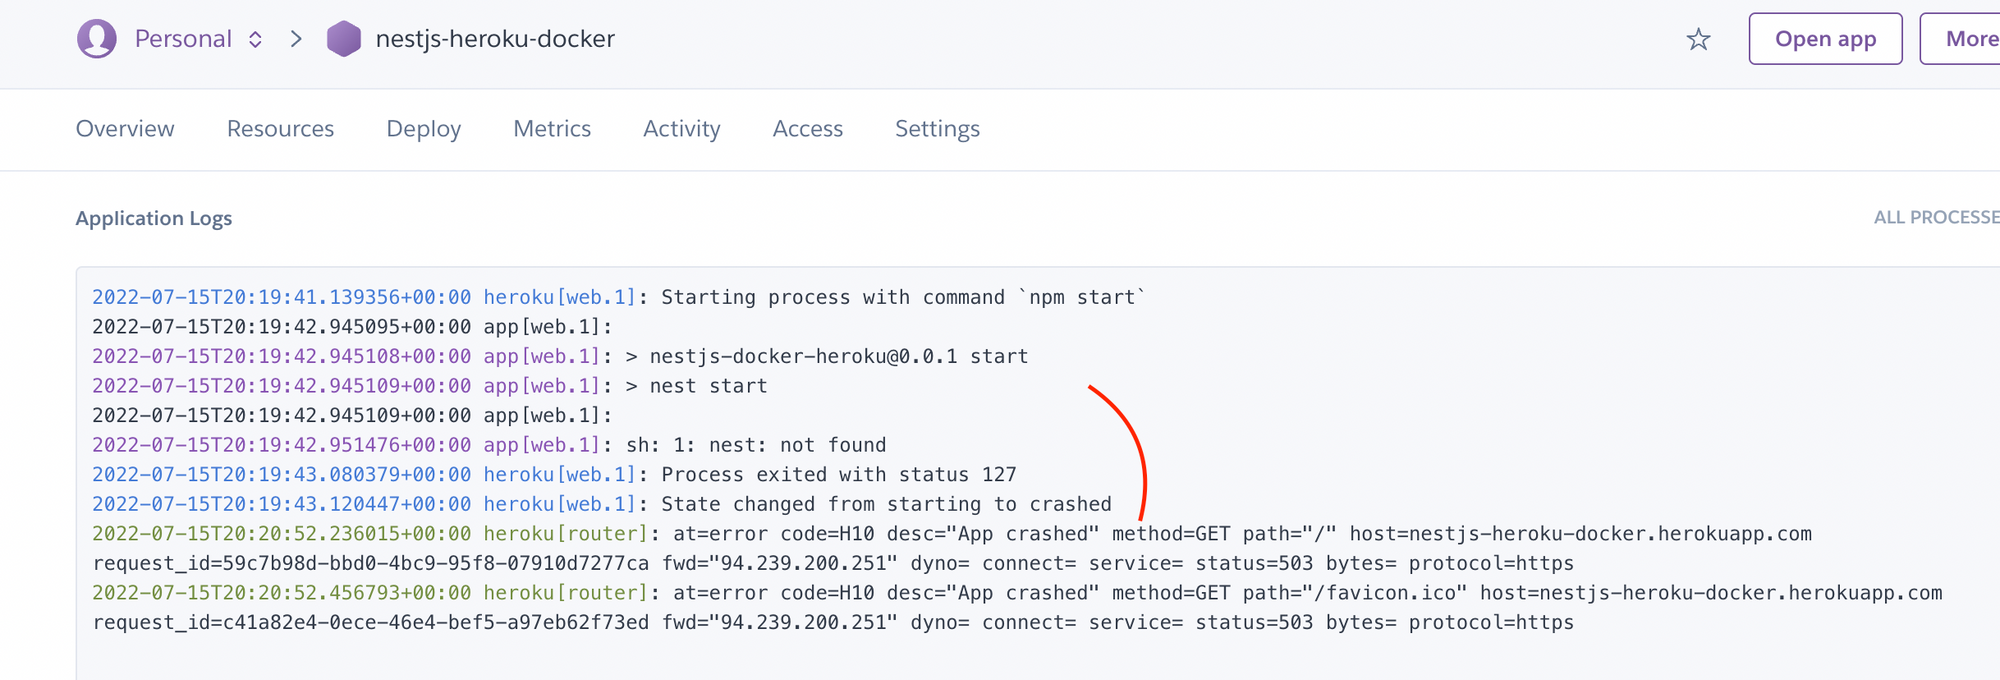
We have an error message Process exited with status 127 because of a not found command. This command is the one to start the NestJS app, to fix this issue, we need to update the package.json file and replace the start script from nest start to node dist/main as follow:
"scripts":{
    ..
    "start":"node dist/main"
}
then stage and push this on github. After all the github actions Jobs, we will see the following on the Heroku Logs
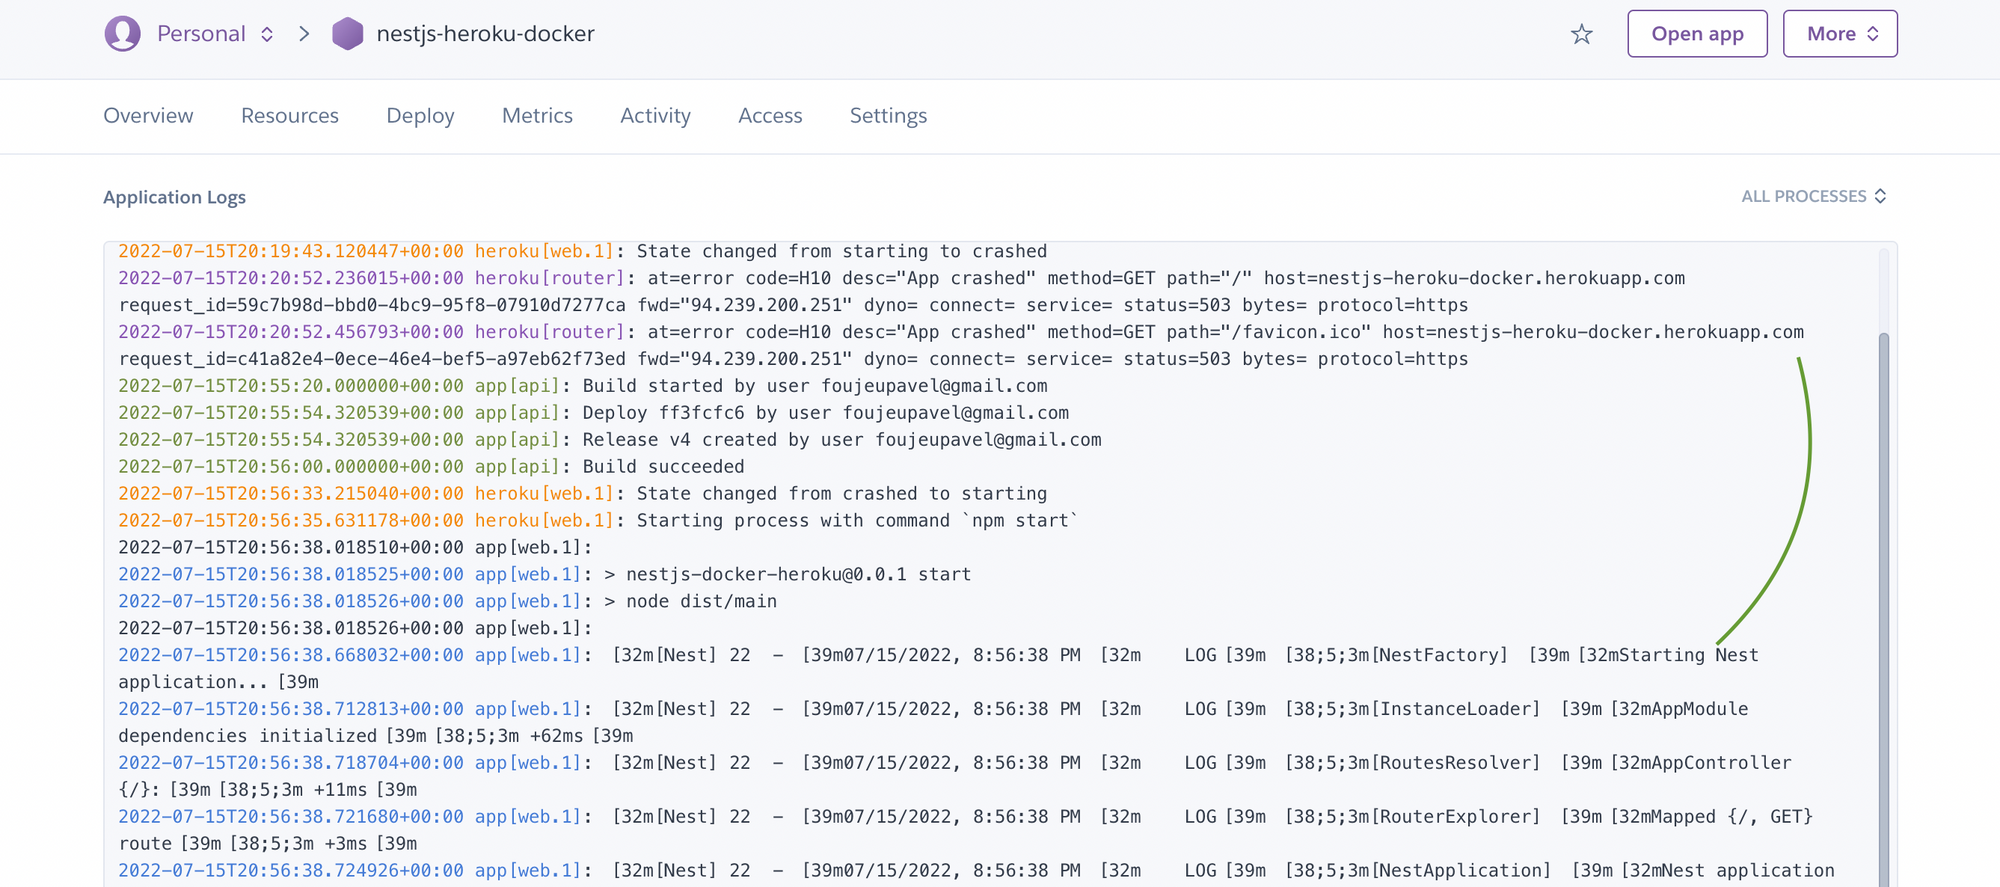
Our app is now running properly on Heroku but we still have one issue to fix to be able to Run some http request on our NestJS app.
if we click on the Open app button at the top, heroku will try to open our app at `https://nestjs-heroku-docker.herokuapp.com/` but we will see the following error
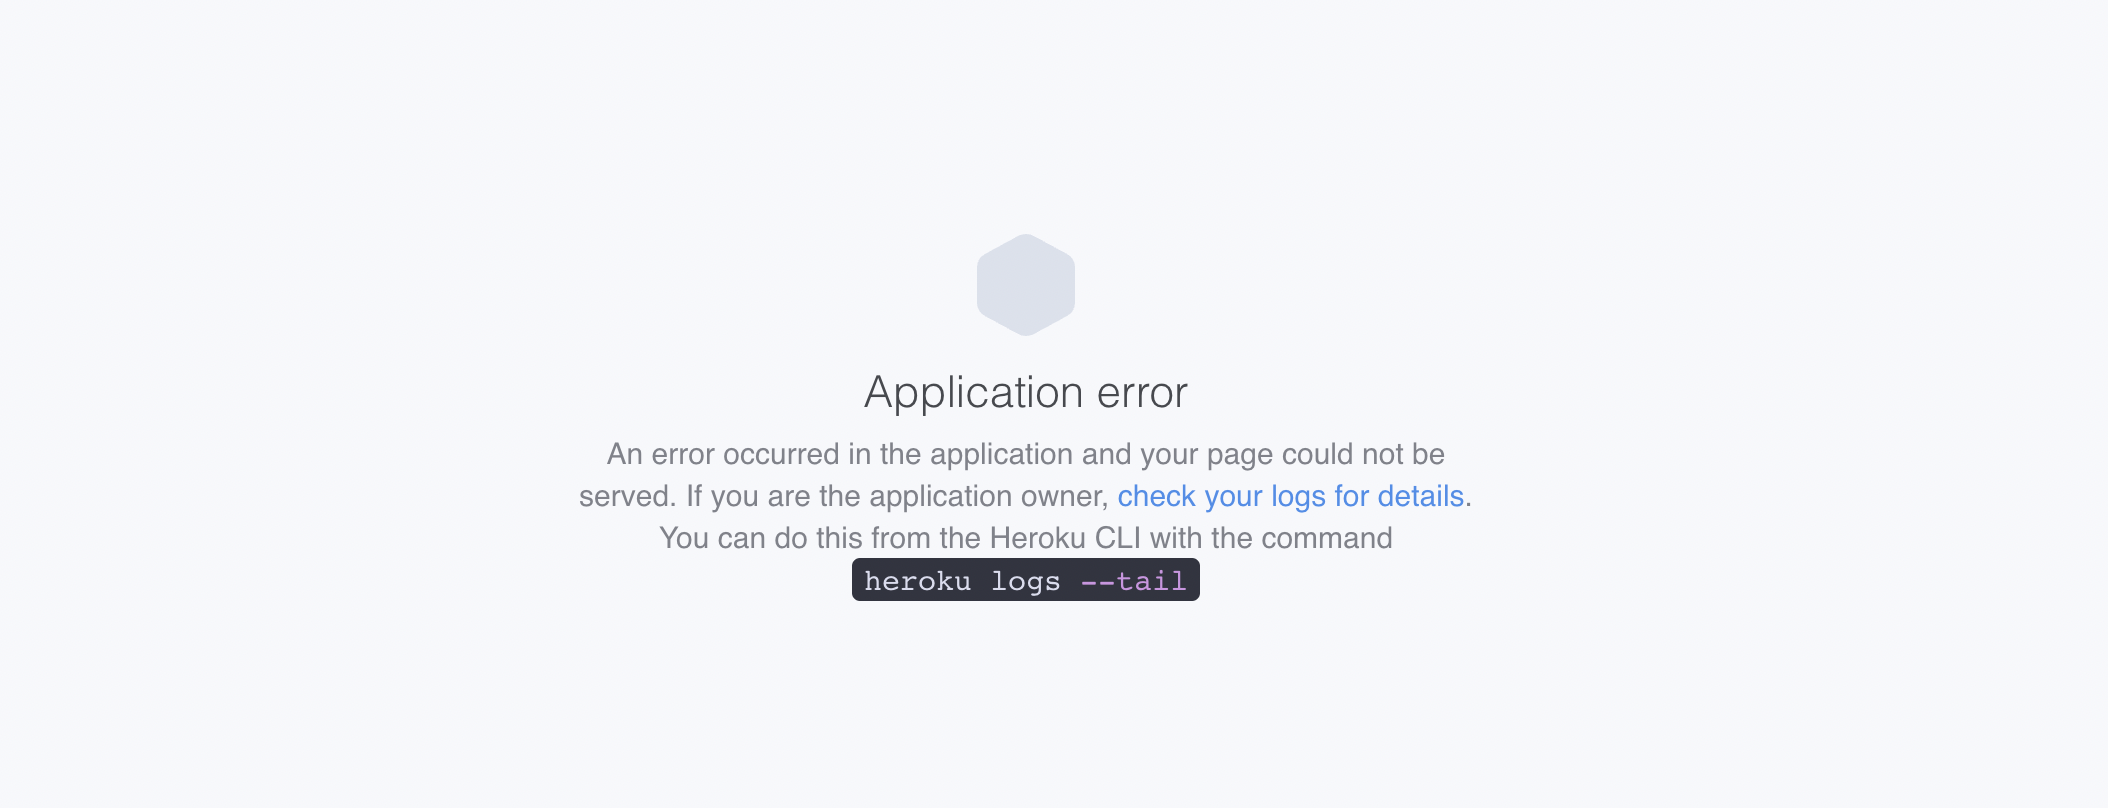
Why do we get this error ? let's see the logs output

We have this error Error R10 (Boot timeout) -> Web process failed to bind to $PORT within 60 seconds of launch. What does it means ?
The answer is simple. Each time you deploy on app on Heroku, Heroku will bind your app to a random port and will set this port to environment variable with the name PORT. So the correct way to make your app listen to this port is by using process.env.PORT . Let's update the main.ts file of our app.
..
async function bootstrap() {
  const app = await NestFactory.create(AppModule);
  await app.listen(process.env.PORT || 3000);
}
bootstrap();
Now stage everything and push to github. Our app build and deploy success fully. To test it open https://nestjs-heroku-docker.herokuapp.com/ and you will see the Hello World ! message printed.
In the next posts we will for sure dive more deeper into NestJS and see how to create a Robust GraphQL backend with.
Thanks for reading. The source code is available here.
Follow me on socials media to stay up to date with latest posts.


